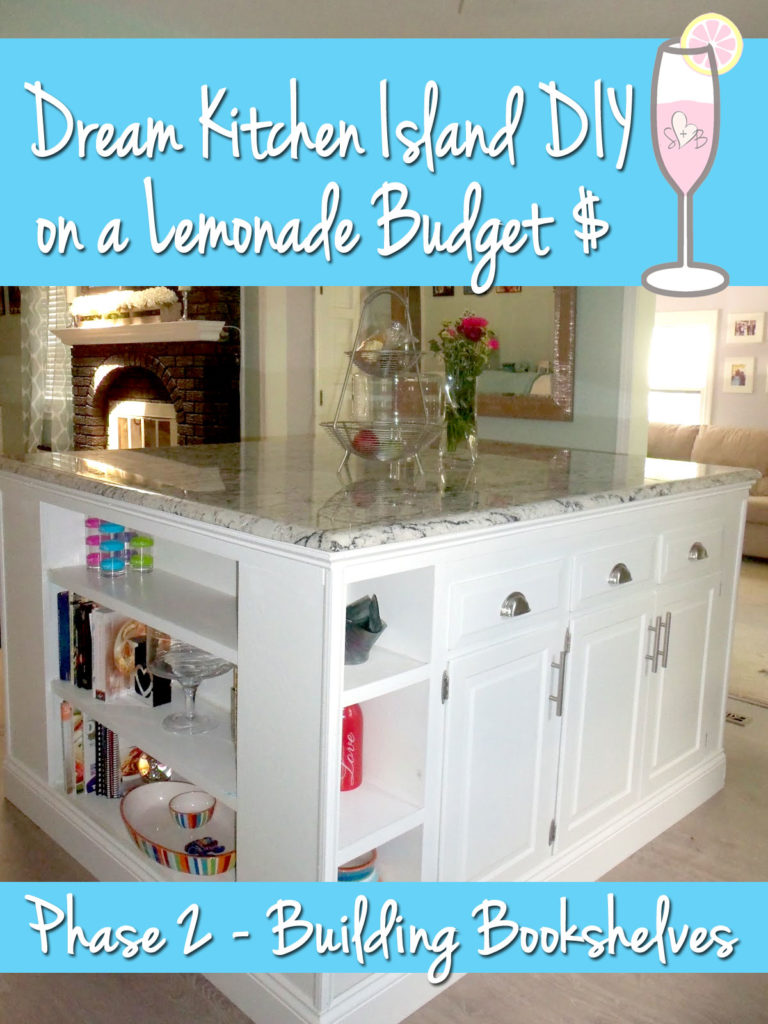
Our kitchen island is one of our favorite DIY projects and overall addition to the house. We designed and built a customized kitchen island base ourselves…for under $80! Let’s take a look at the next phase – building bookshelves.
We left off with Phase 1 where we cut down and started painting the cabinet section of our new kitchen island. The next piece of the puzzle was determining how big we wanted the island to be. For me, I wanted the island to be the center and showpiece of our kitchen and our home. We spend so much time in the kitchen and I never have enough counter space. In order to measure out how big we wanted the island to be, I needed to decide what I wanted to do for one or both sides. After looking at several photos online, I decided I wanted some sort of bookshelf on one of the sides to hold cookbooks, photos, kitchen items, etc. and the other side to be pretty open for seating.
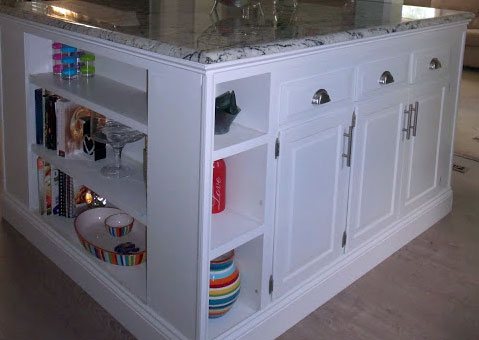
We wanted to create shelving on one side of the island for extra storage and to display cookbooks and some of our favorite collectibles (reminder – we built this before kiddos, back when we had nice things) but we didn’t want to spend an arm and a leg getting something custom built. Instead we decided to use what we already had to create something we really wanted.
Before remodeling our kitchen, there was a dark, built in bookcase covered in wood paneling and faux railroad ties that separated the kitchen from our main room. During demo we made sure to tear down the bookshelf carefully and salvaged the main pieces of wood.
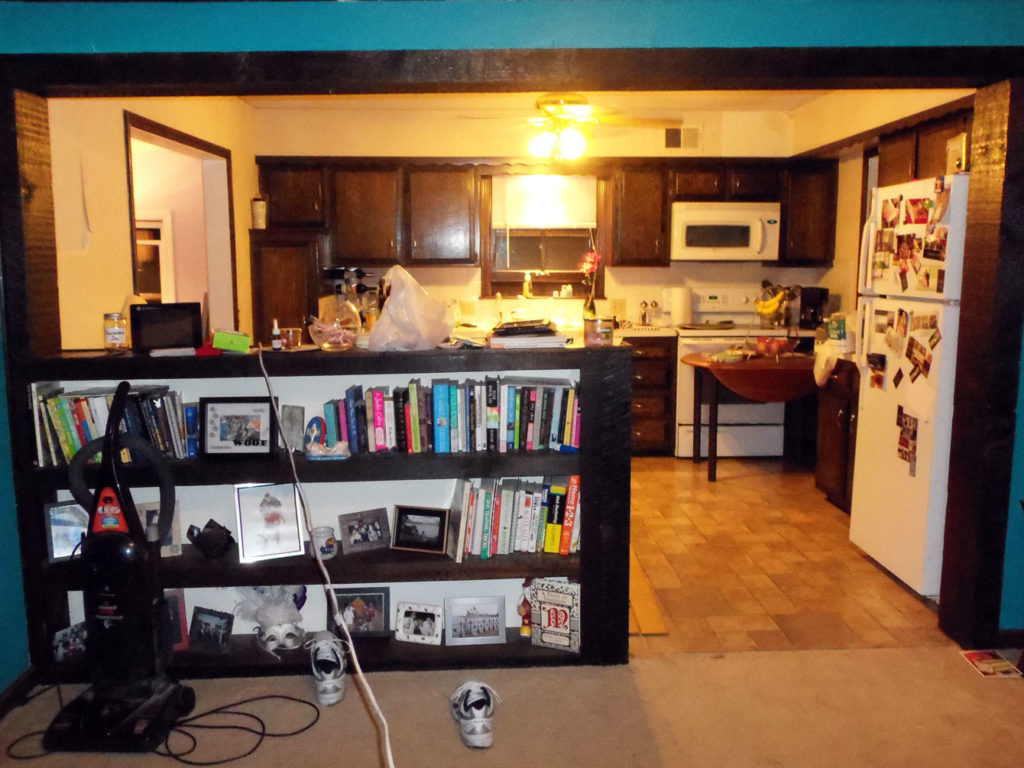
There were 3 boards that were in good shape but they were too long and an awfully stained dark brown. We took off the chunky trim and sanded down the wood so that we could start designing a bookshelf.
The Design
I had stumbled upon Ana White back when remodeling the kitchen was still a pipe dream and fell in love with her ideas and the simplicity of her designs. If you have not checked out Ana’s site, it’s a must for any beginner to advanced builder and her site inspired many of our home projects.
There was one projects aesthetic I was drawn to, her Modern Craft Table. I liked the dual-sided shelving of the bookcase and it seemed like a project we could tackle with the supplies that we already had. Since I wanted one side of the island open for seating, so we only needed one and figured I could convince Brian that building just one would be a cinch!
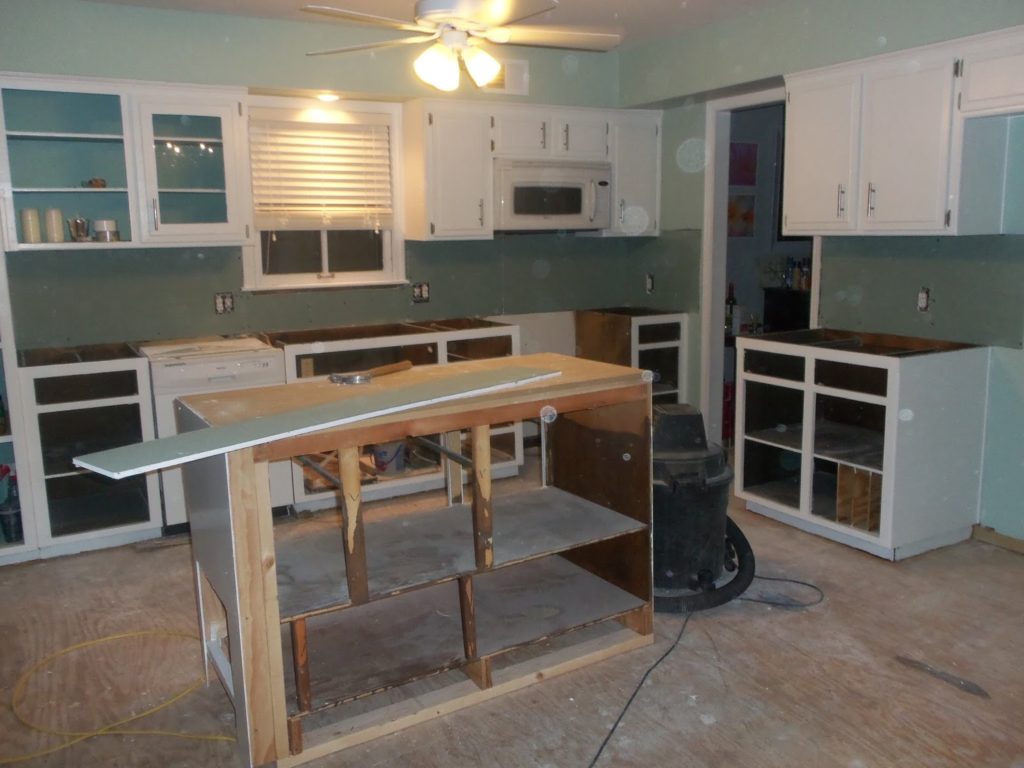
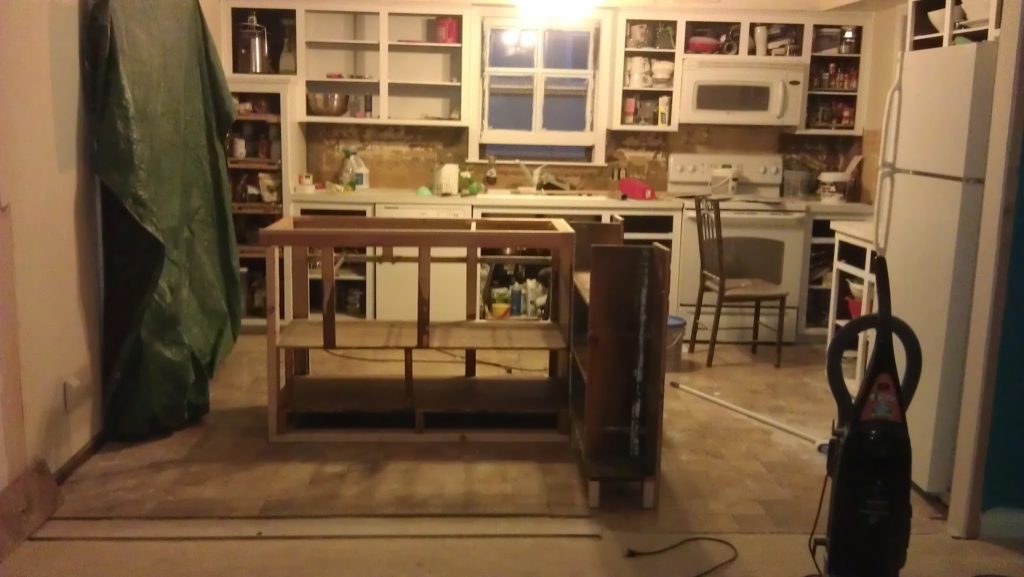
Now before we could get building, we had to plot out where the island would go, the height we wanted the island and the best length of the side bookshelf. We had the space to bring it out about 4.5 feet and I figured, go big or go home! Once the depth was figured out, we had to decide on the height of the island. We went back and forth on this a little bit and decided that we wanted the island to be taller than the rest of the kitchen
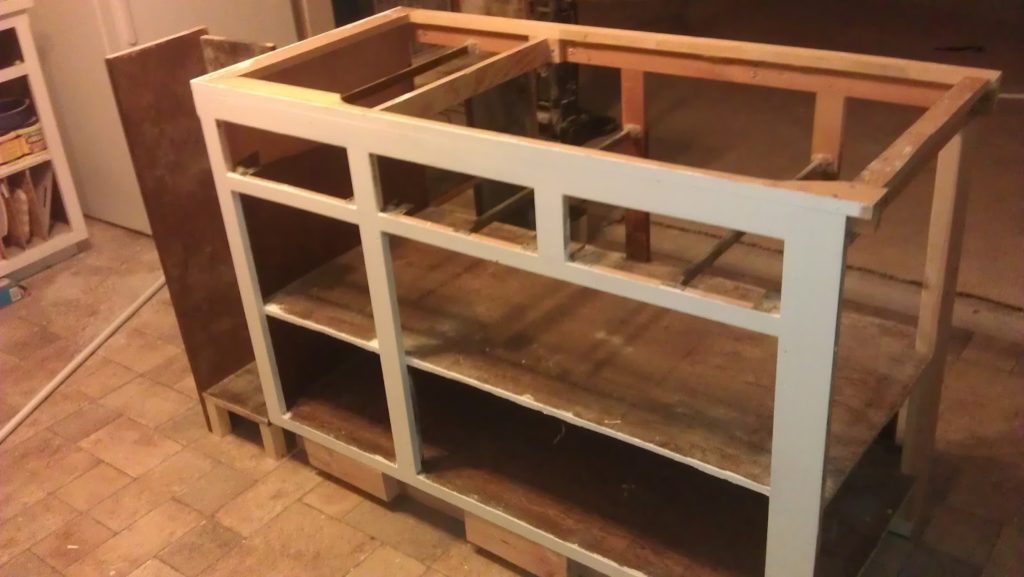
Looking at the cabinetry piece we had, I realized it was a little too short for what I was envisioning. I found this chunky piece of baseboard trim I really liked that didn’t break the bank so after measuring, we lifted the entire piece by setting it on a few 2x4s and attaching them with screws.
If you are looking at Anna’s plan, we made a few adjustments to fit our needs. Since we raised the cabinetry up we wanted to make sure the bottom bookshelf was high enough to accommodate the trim that we found. Then we decided to make it a three-sided shelf with a large bookshelf in the middle and two smaller bookshelves as end caps. We adjusted the measurements of the longer bookshelf to accommodate the design. After securing everything with screws, we brought it upstairs to get a better feel for the entire island.
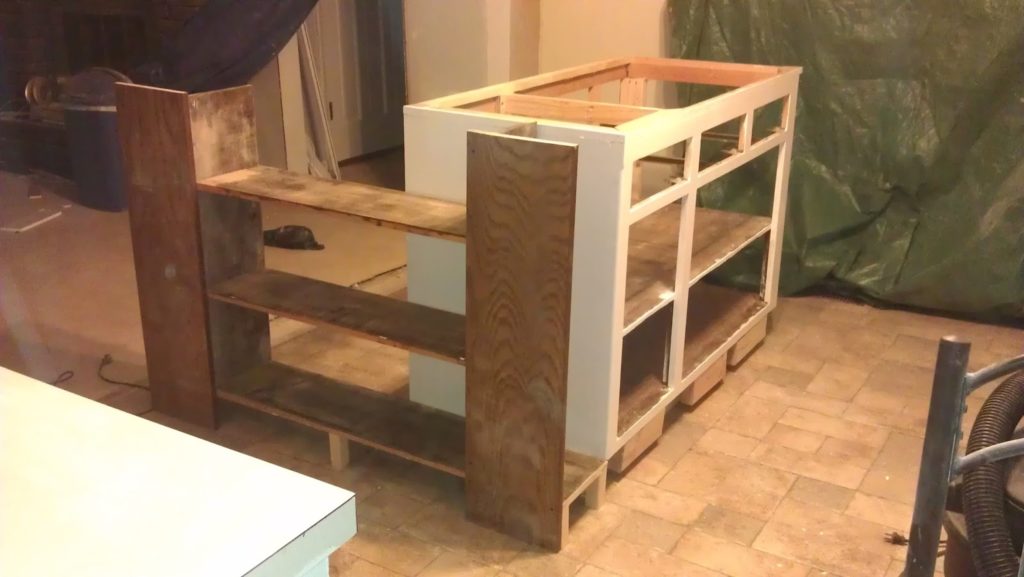
In Anna’s plan, she left the shelves open, but we wanted to close the back of the bookshelf so we took a piece of leftover plywood and cut it down to fit the entire back of the bookshelf. It was a really large, thin piece so we were able to cut it down to fit not only the back of the bookshelf but the other half we planned to use for the back of the cabinetry piece – bonus!
We also adjusted the plans a bit when we laid out the shelves on all three sides. We wanted to make sure that the shelves were large enough to fit our larger cookbooks and of course some of Tequila’s toys. Oh how much has changed since we started finished this project! We customized the measurements to fit our needs and made the top shelf a little shorter than the bottom two.

Seeing the outline of the project in the kitchen space was really exciting and it started feeling more real. I couldn’t wait to start finishing it, but first we had to get it painted.
Time to Paint
With all of the nooks and crannies in the bookshelf we decided to use spray paint primer that we had purchased a few months prior for another project. I love spray paint, especially to save time and energy. It definitely helped cover all of the shelves in the front but I did paint the backside with a brush because it will be seen from our main room and I wanted a smoother surface. We did 2 coats of primer on the entire piece.
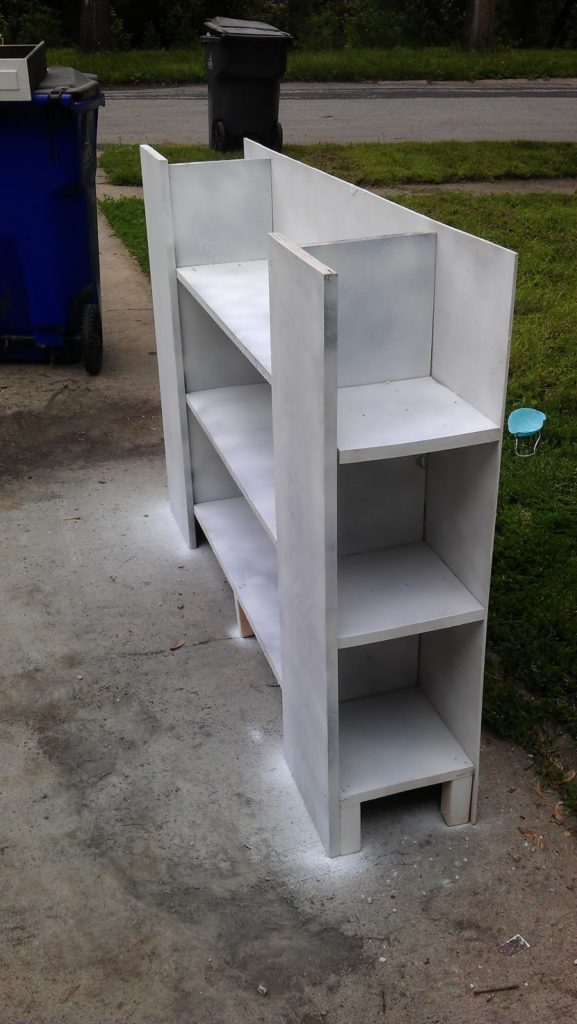
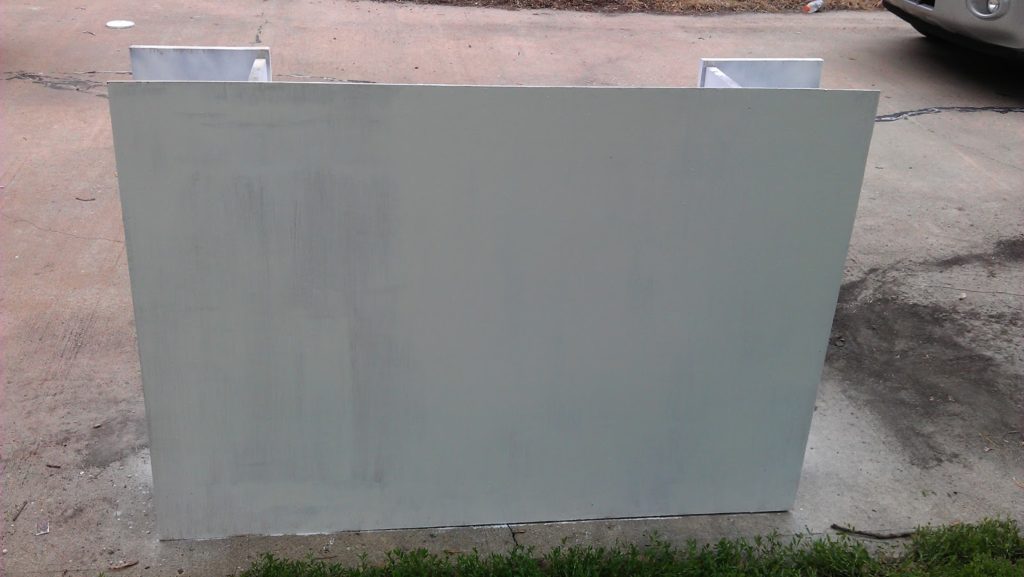

When the primer, about 20 minutes, we got to work brushing on the same Impervo we used on our cabinets. We let the piece set overnight before adding the second coat and then we let it rest in the basement for 7 days to set and cure.

The best part of the bookshelf? It didn’t cost us a thing except our time and some creativity. So if you’re keeping tabs, we’re still at $40.
| Cost Per Piece | Total Cost | |
|---|---|---|
| Kitchen Cabinet | $40.00 | $40.00 |
Next up, Phase III . Want to start out at the beginning? Visit Phase I of our Dream Kitchen Island DIY on a Lemonade Budget.