
Note: This post contains affiliate links that help make this blog possible but the projects and ideas are all mine.
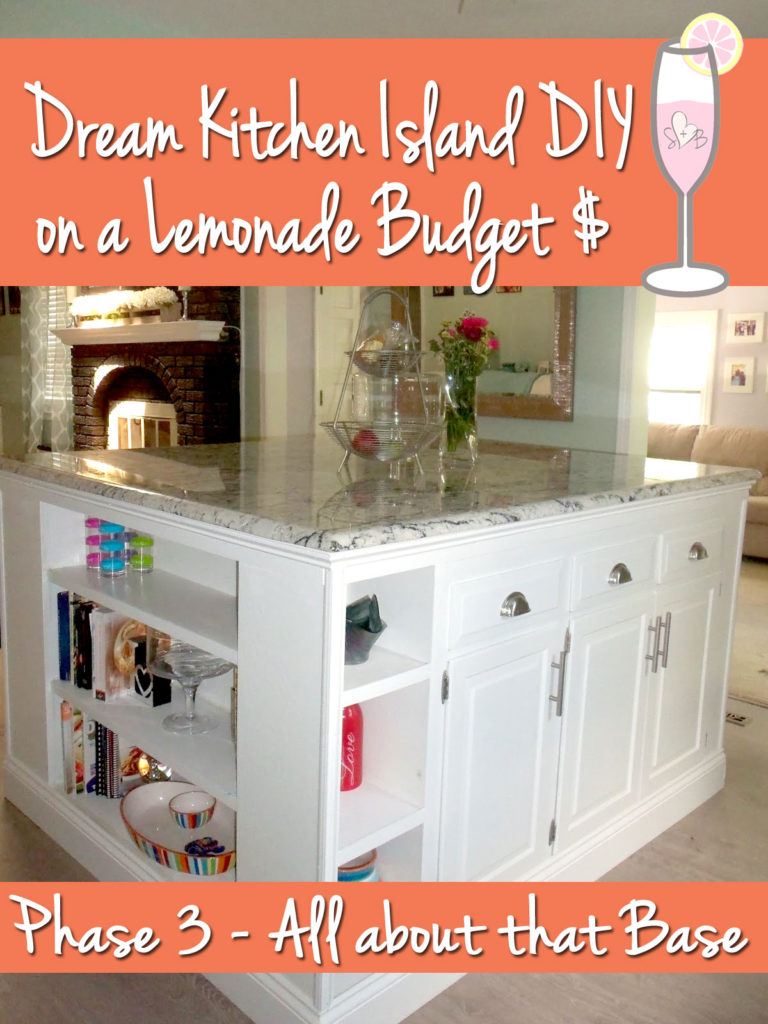
It’s been a little crazy here the last few weeks but we are back and ready to share the next phase in building our Dream Kitchen Island DIY on a Lemonade Budget. This time it’s all about that base!
One of the most important things to remember when building a kitchen island is that you need to have a solid base. When you are adding a ginormous slab of granite, not only does it need to be solid, but it needs to have enough support to hold the weight of the rock. It also needs to be completely level so there isn’t pressure bearing down on one end more than another or you’ll end up with a broken island over time.
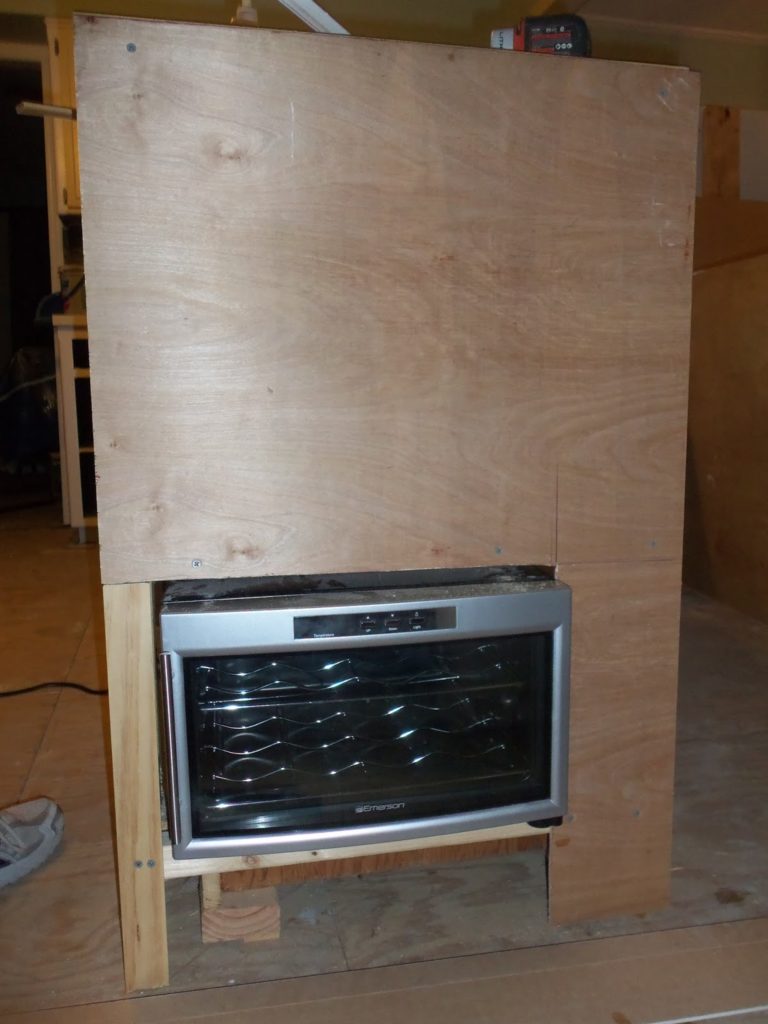
With Phase 1 and Phase 2 complete it was time to finish the base of the kitchen island and prep it for granite. In order to do that we needed to finalize the last two sides. On the last side of the cabinet we opened up an old Christmas present…a wine fridge! (Thanks Mom!) It fit perfectly into the space on the lower level of the cabinet like it was meant to be.

All we had to do was cut down a piece of plywood to fit and just like that – the third side was complete!
Power Up
The new addition brought up a new need – power. Not only did we need it for the wine fridge, but we wanted to have an outlet accessible for other household appliances. I call it a premonition for the future Instant Pot we would be purchasing in 5 years. A call to our electrician gave us positive news about the dual outlet but we’d need to reallocate a source. As luck would have it, our strange old house had an outlet already in the ceiling of our basement in the laundry room directly underneath the kitchen. It was connected to an outside standalone light that was no longer working. Plus we already had the outlets and box so we were set!
We set the cabinetry down in the place we wanted and drilled a hole to the basement and marked it off for the flooring guys.
The Last Leg
The final piece to the kitchen island base was the post to hold up the fourth corner. We wanted to have an area for at least 3 stools so we couldn’t get anything too wide. When we started looking at custom island posts and legs the sticker shock had us looking at other options. We had found a newel post that we liked at Home Depot but wanted to see if we could find anything at ReStore. Sure enough we found one that was almost exactly the same, for $7.50 – score!
We added some primer and paint and it was ready to go.
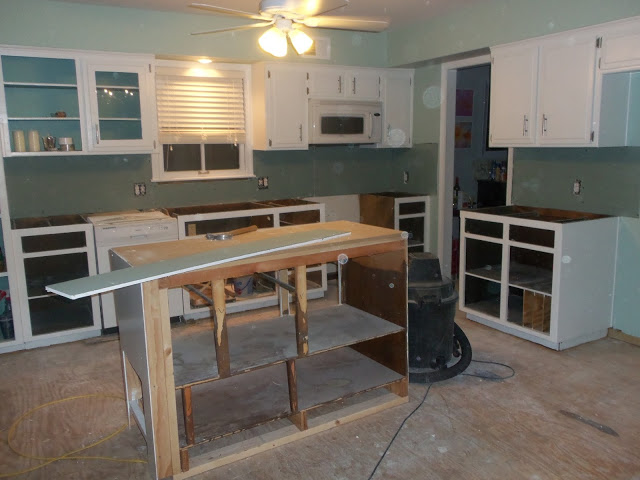
Assembling the Kitchen Island Base
We had to wait until the flooring was complete before we could assemble the island and prep it for the granite. And in true home improvement fashion, the flooring guys got behind and so we had an evening to set everything up, level it and secure the top so the granite guys could just lay it on top.
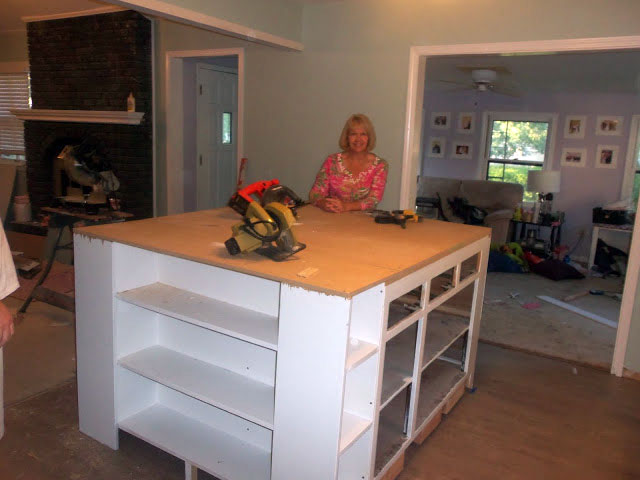
We used a few scrap 2×4’s from our hodgepodge lumber yard, I mean our garage, to strengthen the bookshelf side and form an L shape along the exposed edge for additional support. Then we laid our thickest pieces of plywood and added shims around the piece to level it out.

This was the most exciting part for me because you could see our island finally come to life!
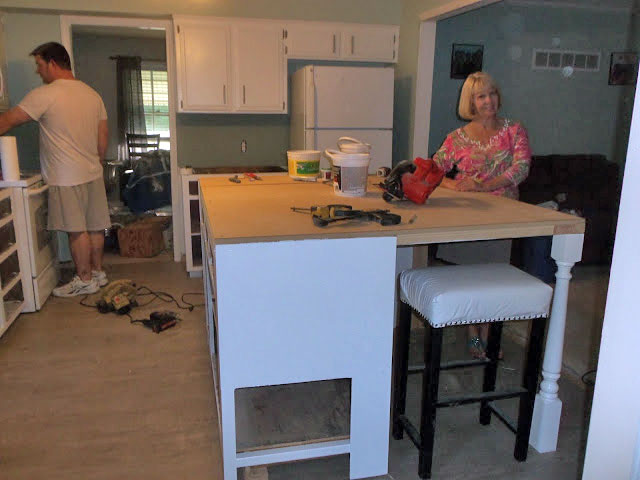
We left the back open so the electrician could finish adding in the dual sided electrical outlets. That will be added on along with the trim and finishing pieces once the granite is on. We are so happy with the island so far. It fills the space so well and triples our counter top space…I can’t wait to see the granite on it!!
We added a little bit to our overall cost:
| Cost Per Piece | Total Cost | |
|---|---|---|
| Kitchen Cabinet | $40.00 | |
| Newel Post | $7.50 | $47.50 |
Want to start out at the beginning? Visit Phase I and Phase II of our Dream Kitchen Island DIY on a Lemonade Budget.