It seems like forever since we’ve done a remodeling project. It has definitely taken a back seat to the crazy roller coaster of parenthood. But when your front porch and steps become a safety hazard, a renovation takes priority.
It all started when we were heading to the pool one morning and lo and behold, the railing on our front steps were hanging by splinters. The railing has been on our list to replace one day, but we kept putting it off because we knew it wouldn’t be a simple fix. The time had come, we needed to do something and we started planning.

With a quick patch job, we made sure the girls knew to stay away from the railing when going out front. Not always the easiest to do, but the girls were really good about keeping to the opposite side.
Along with the railing, I wanted to do something with the hideous concrete steps. We had a couple options – refinish the concrete (super messy), bull doze (extremely expensive) or overlay with wood (ding, ding!). We decided to go with the overlay and chose to go with composite wood to avoid the staining and redecking that would be needed over time.
Composite decking isn’t cheap, but we have really enjoyed the look and overall ease of the composite we used on our back deck. We did some cost comparisons and settled on the UltraDeck Triumph composite decking in Slate from Menards. We’ve never used this brand before but the quality was good and it came with a 11% rebate so we decided to take a chance. I was a little worried about the color being so dark, but thought it would compliment our dark grey brick nicely. We had to special order it and wait a few weeks for it to come in – perfect since we were still working on getting our health back in order.
Demo Day
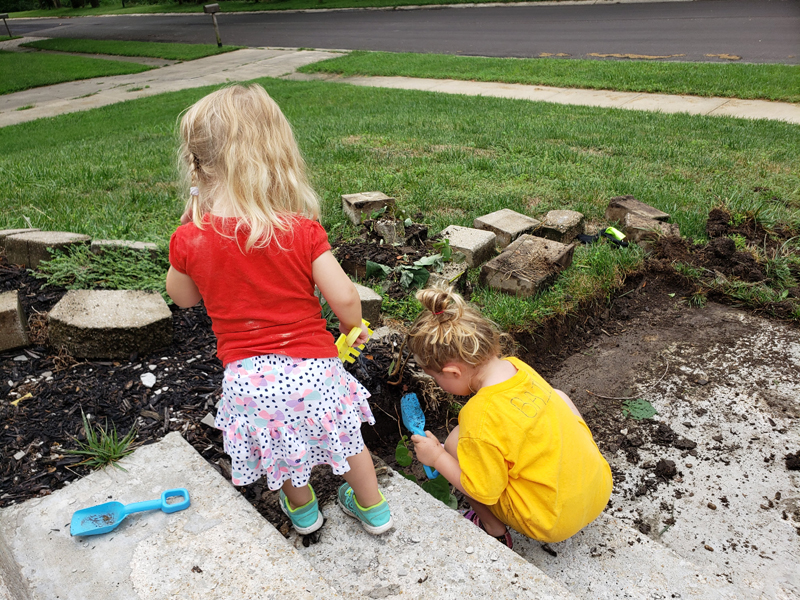
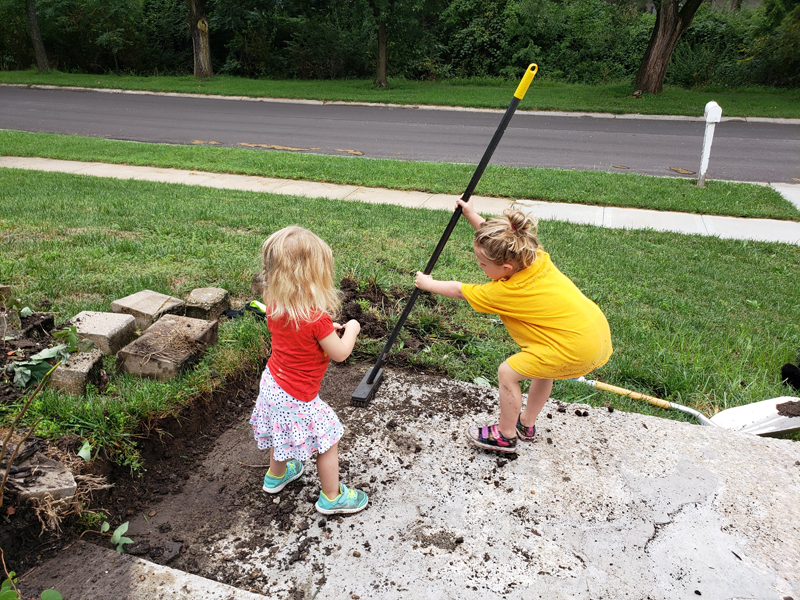
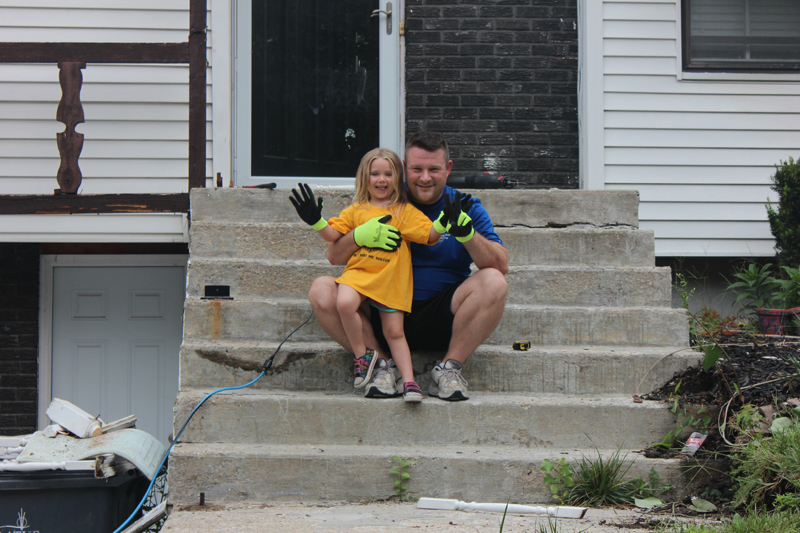
No one enjoys demo day more than Chip Gaines, but Brian definitely comes in a close second. Since we weren’t taking out the steps, there wasn’t a ton of demo, but Brian still go to take out the sledgehammer to knock out the rest of the railing. We had to clean up the broken pieces of concrete and remove some old pavers and dirt. The girls really enjoyed getting their hands dirty and be a part of the project.

Getting Started
We got started the week that Brian was on call so he had all day Thursday and Friday (along with the weekend) to work with my Dad on stairs. The plans we had seemed pretty simple and we thought we would be able to tackle everything in one weekend. But of course, nothing is ever simple when it comes to a remodel.
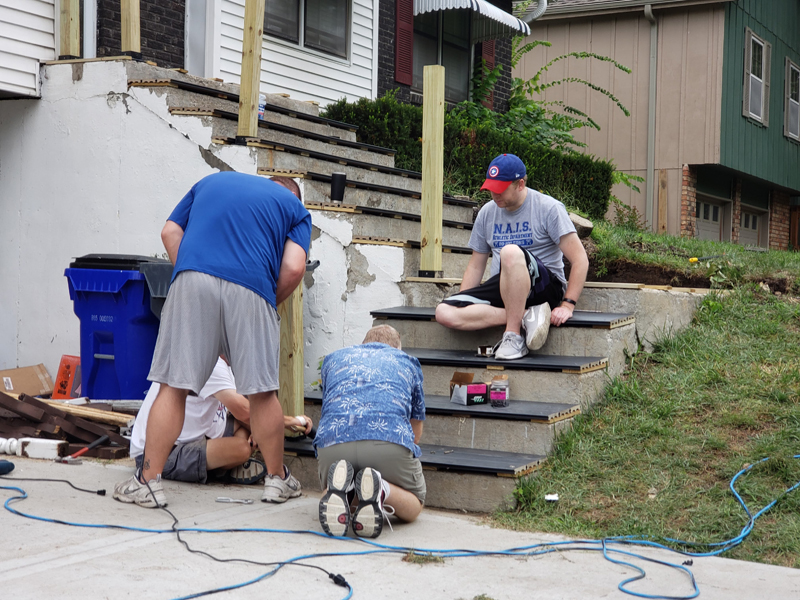
The guys did the majority of the work on Thursday – us girls just happened to have school, a girl’s lunch and some back to school shopping already planned so we weren’t much help. I don’t think the boys had any problem with us being out of the way. By the time we got all of our errands done and picked up Bailey from school the guys had all the posts in, the cracks filled in with concrete adhesive and they began to start getting wood spacers screwed into the concrete. It was really hot so we decided to call it a day to get a fresh start in the morning. We also needed to get a new drill as the concrete won the battle that day.
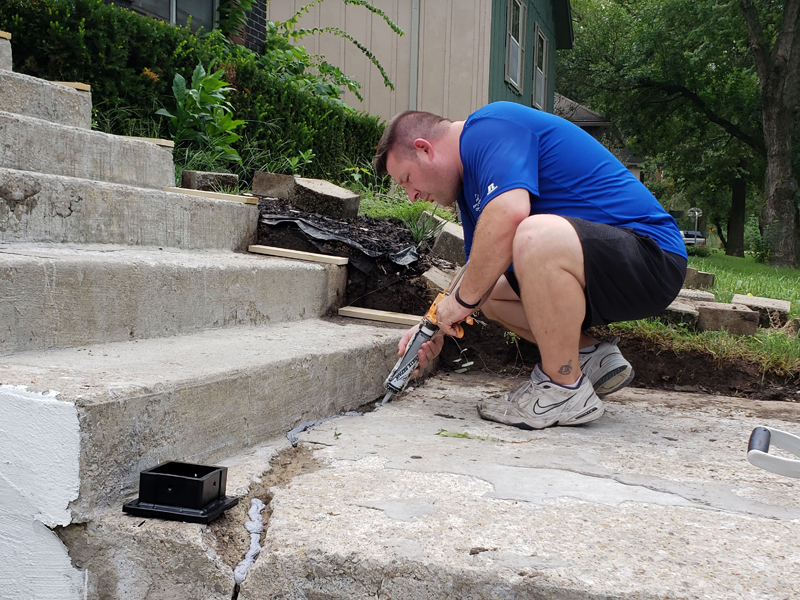
To recap what the boys did: They filled in some of the larger cracks in the concrete with heavy duty construction adhesive. They cut treated 4×4’s and drilled in post brackets to the concrete and then screwed in the posts to the brackets to secure everything. They cut treated 1×2’s to fit the width of the stairs and spaced them 16″ apart. Then they predrilled holes in the wood and concrete to make it easier to drill the concrete screws into the concrete. It’s important to use a good quality drill and drill bit to predrill into concrete – even a good drill can break during this step, make sure you have a warranty. This was probably the hardest and most time consuming part of the project, just have patience – or let someone who does, work on this part.
More Demo
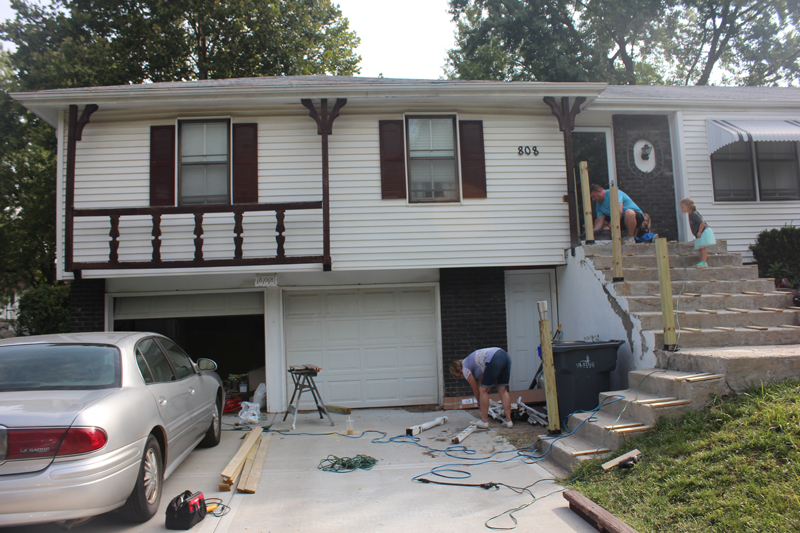
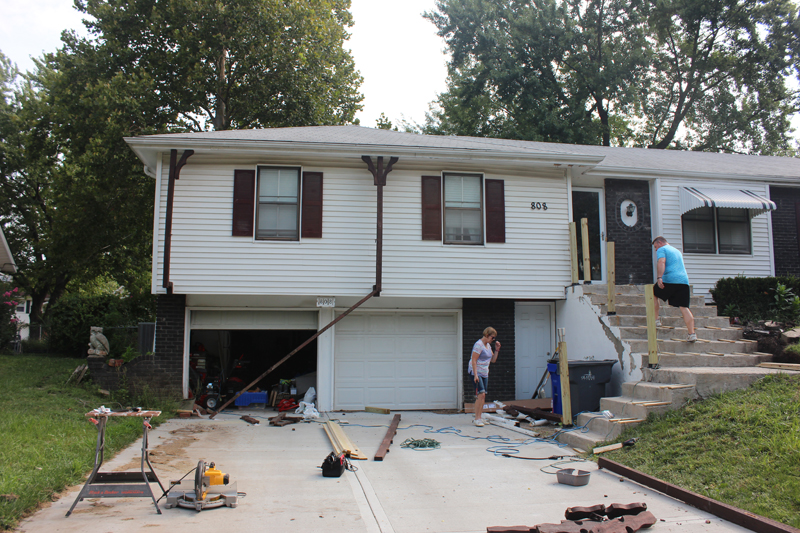
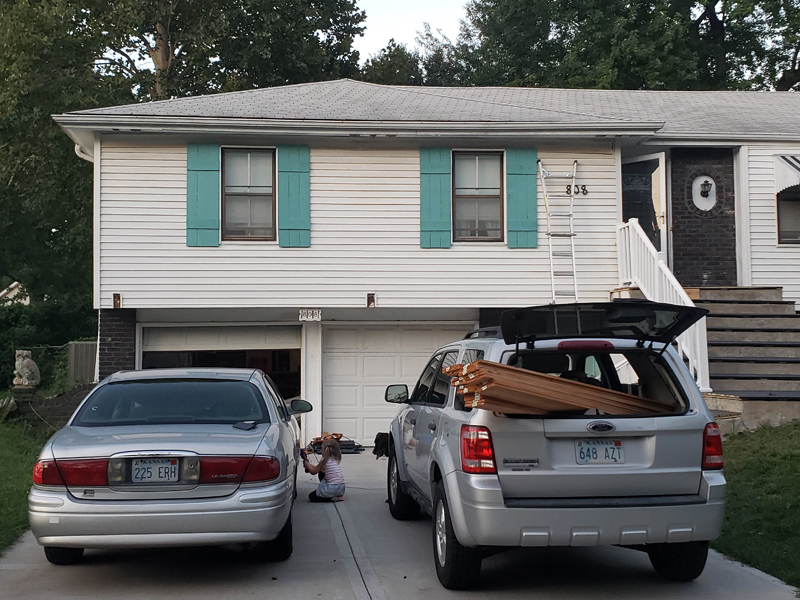
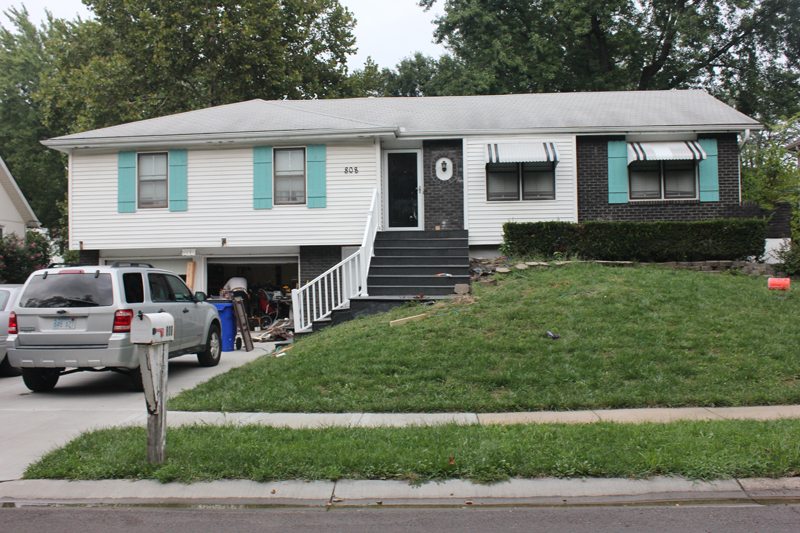
The next morning, the weather gods smiled on us and we lucked out on a beautiful, overcast day. We wanted to take advantage and get as much done as we could. But walking out and looking at the top post, I knew we were going to run into a problem with spacing on our top post. The problem – the horrible wooden “grill” that decorated the front of our house was too close to the post and we wouldn’t be able to attach the railing. I call it a grill because it looks like our face has a giant toothy smile. It’s always bothered me, but it never topped the list of projects – until now.

I wasn’t sure what the boys had planned, but I secretly hoped it would include removing the grill. I tiptoed around the question because I didn’t want to add any more work to our project. Then I overheard the best news ever – the grill was coming down! I was so excited, I almost couldn’t believe it. So before any more of the step work could commence, Brian got to work knocking the eye sore down. We had to be careful because it was attached to the siding of the house, but luckily it wasn’t too difficult to take down.
Hooray! With the removal of that tacky grill our house looked like it belongs in this century. I was really excited, until I noticed the shutters. WTF! They were shorter than the windows! I never noticed it before because the grill had been blocking most of them, but it was glaringly obvious now that the front was bare. I knew we needed to remedy it but the boys were in no way ready to hear it. I decided to table my thoughts for a later day (or later in the afternoon, but still).
Back to the Steps
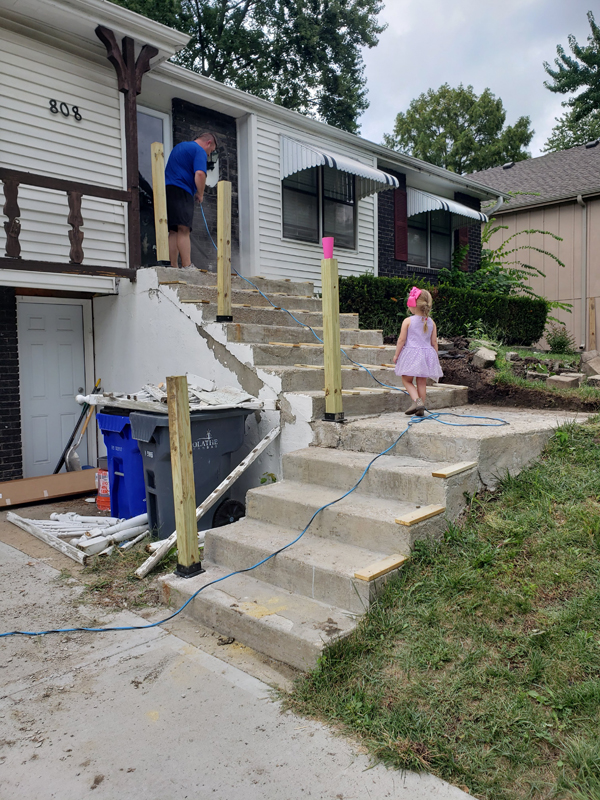
Once the new demo was done and the drill was replaced, the boys got to work screwing down all the 1×2’s to the concrete. This took most of the day because of the sheer volume and difficulty of screwing them down. I would like to say that I helped a lot during this step, but besides holding a few boards during the cuts, I mostly supervised in a comfy chair and soaking in the beautiful weather. This gave me a lot of time to figure out what to do about our shutter situation and the two gaping holes that were left from the grill take down. Luckily, I work fast!

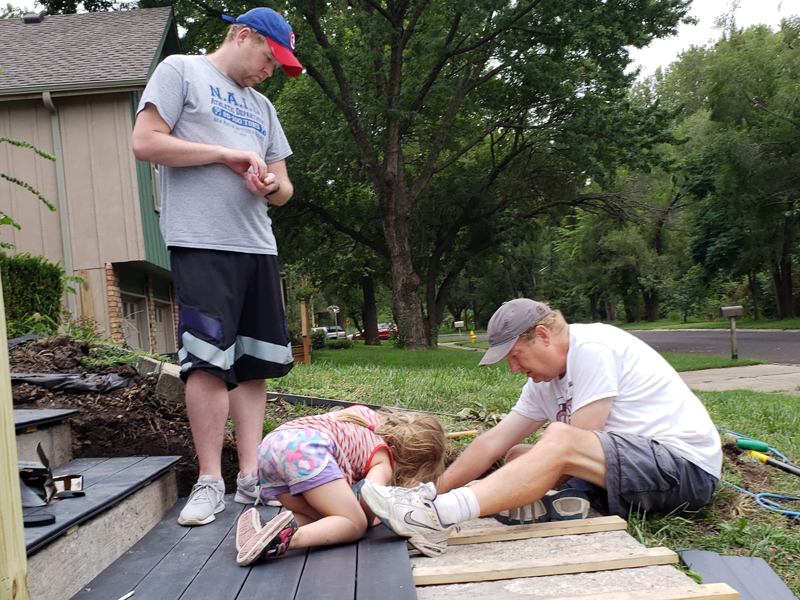
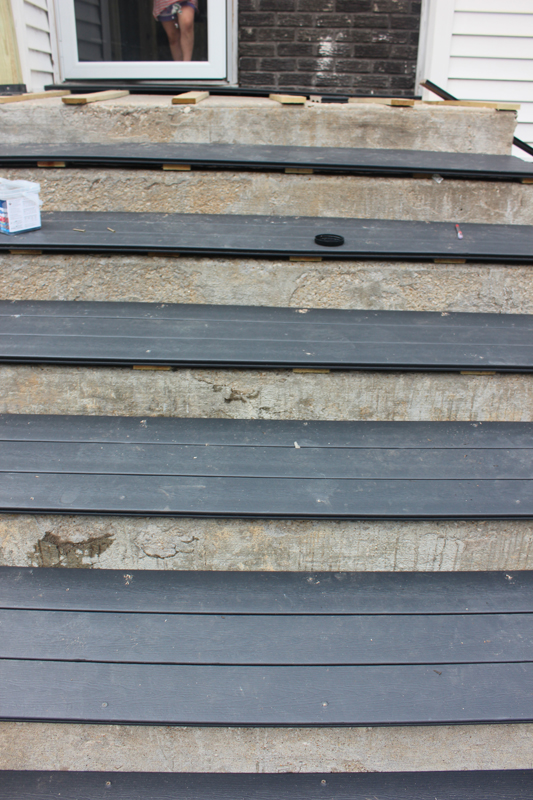
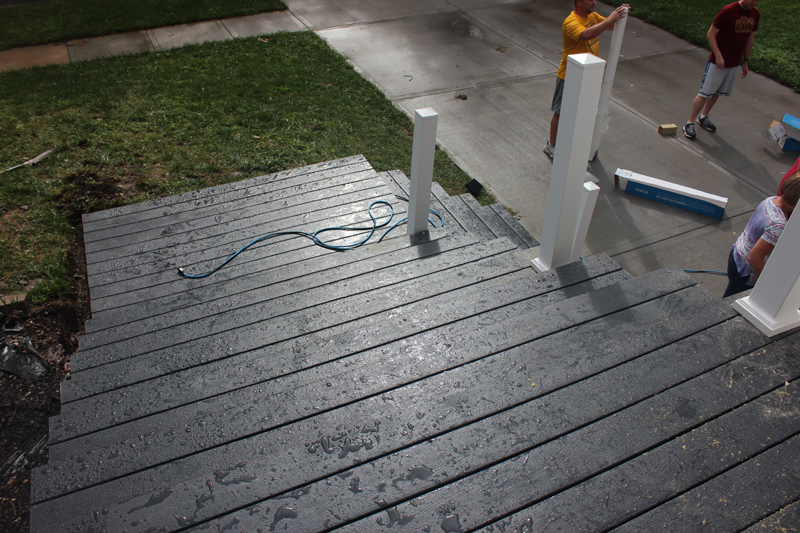
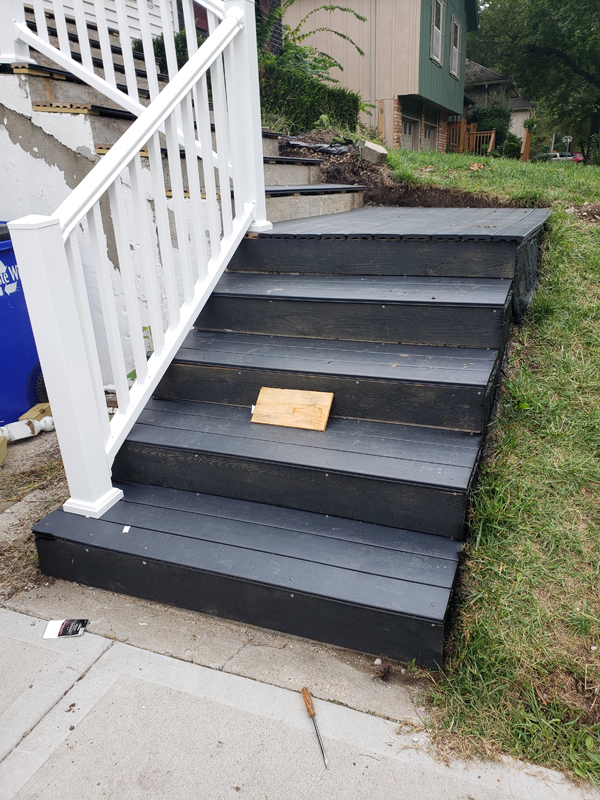
Next up, the composite boards. When we originally measured the steps so that we could order the correct number of boards, we thought the stairs would be 2-1/2 boards per step. But once we laid the boards out, it made more sense to use three boards per step, leaving a little overhang that would be made up by the wood we would lay flush against the steps to cover the rest of the concrete. We weren’t sure if we had enough boards to go three deep on each step, but we decided to get started cutting and order more if necessary. Bailey loved helping hold the boards while the Dad cut them!


We decided to lay out one step before cutting down all the boards and we wanted to see how the hidden screws worked with the composite. Turns out, the hidden screws were a lot more difficult to use than we had planned. After a few steps, we decided to call it a day and save the rest of the work for the next.
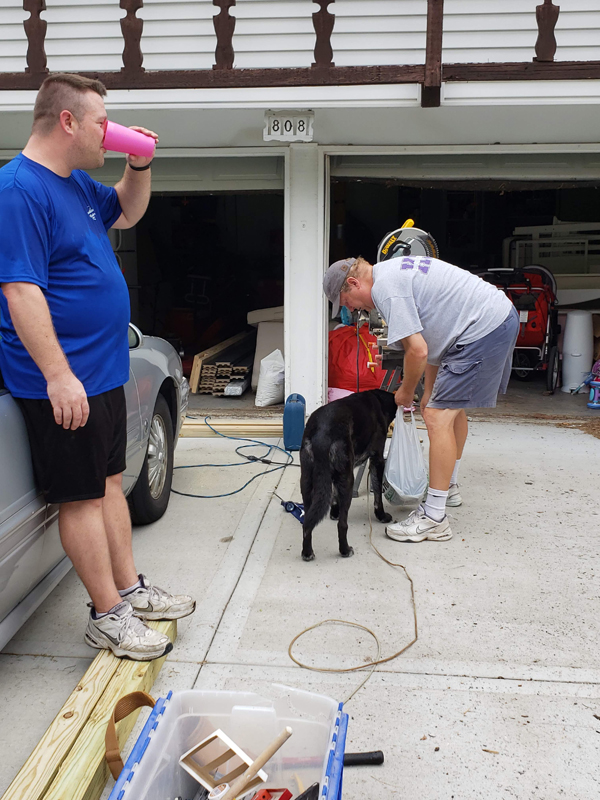
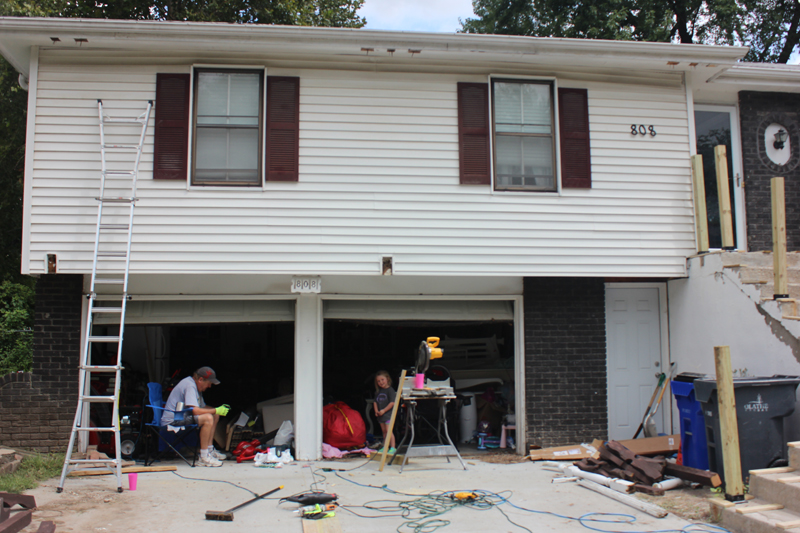
Day 3 – Adding More Crew
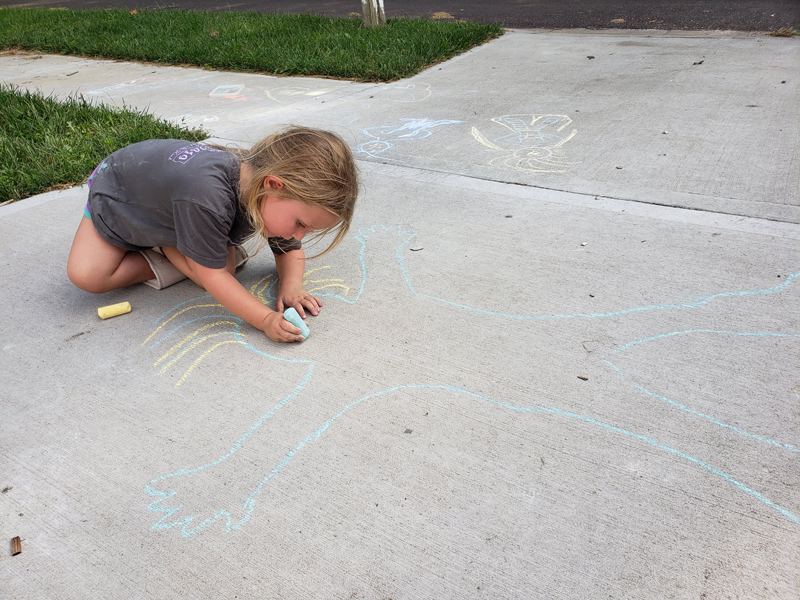
Day 3 of our project was blessed with cool weather and we added an additional crew member – Uncle Mat! The girls were excited to spend time with him, paint and play outside all day. Poor Sienna wasn’t feeling too hot, so she spent a lot of time inside sleeping and watching her favorite movie while Bailey collected mushrooms, moss, dirt, sticks and other fun things to make fairy houses. I took up my chair again to watch Bailey, the boys and to plot out the shutter situation more so when I broached the subject I would have a complete plan in place.
Screwing the deck boards down was definitely a three man project because you needed one to screw the hidden screws down while the other two held the boards in place really tightly. Bailey also enjoyed helping the boys set the hidden screw brackets and setting the screws in.
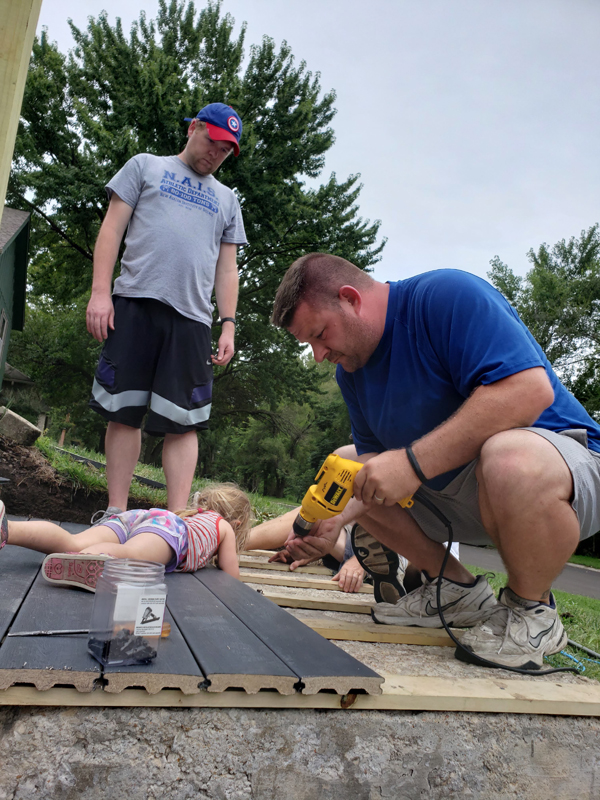


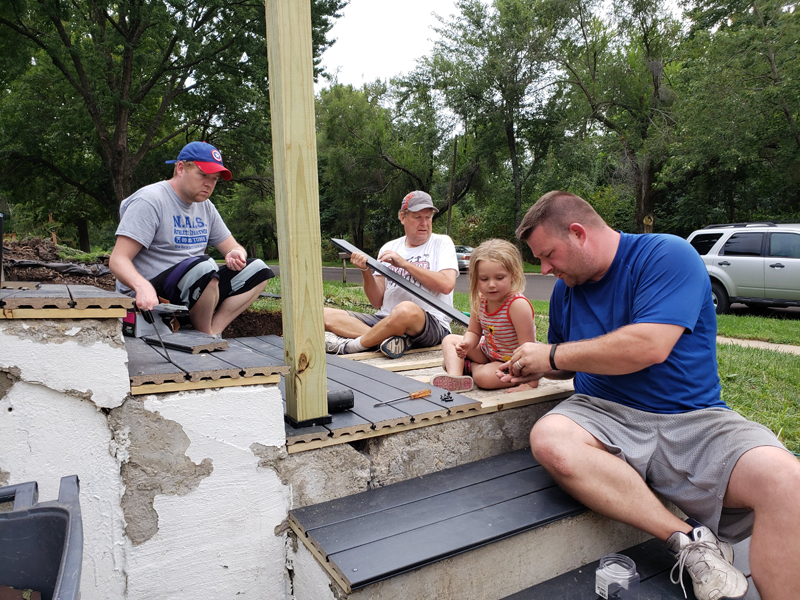
It was slow going because there were a lot of corners to be cut around, but everything came together nicely and we got to the final two boards before we ran out of screws. It seemed as good of time as any to stop and break for the next day.

Rain, Rain, Go Away
Sunday brought the rain in full force. It rained most of the day which put us out of business because we couldn’t get the saws and drills wet. It was pretty annoying since we only had two boards left to place, but it did give everyone a much needed break. Plus it gave me the perfect time to lay out the plans for the shutters with Brian – he was thrilled.
Luckily around 3 pm, we got a break in the weather and everyone came back over to get the last two boards in and start working on the railings. We went to set the post covers and realized that we got ones that didn’t fit over the 4×4’s – boo. The guys went back to the hardware store and switched out the post covers. When they returned we were able to get the post covers on just as the rain started to pick back up. The rest would have to wait.


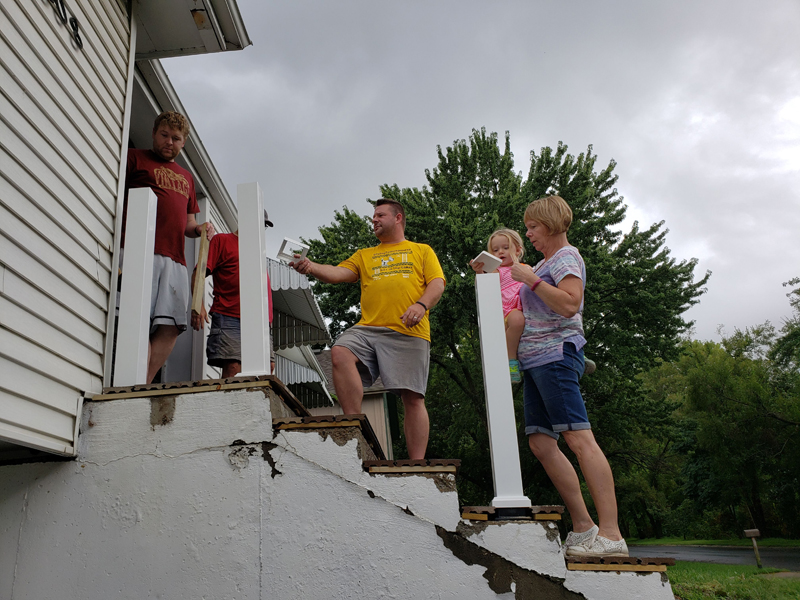
Adding the Railings
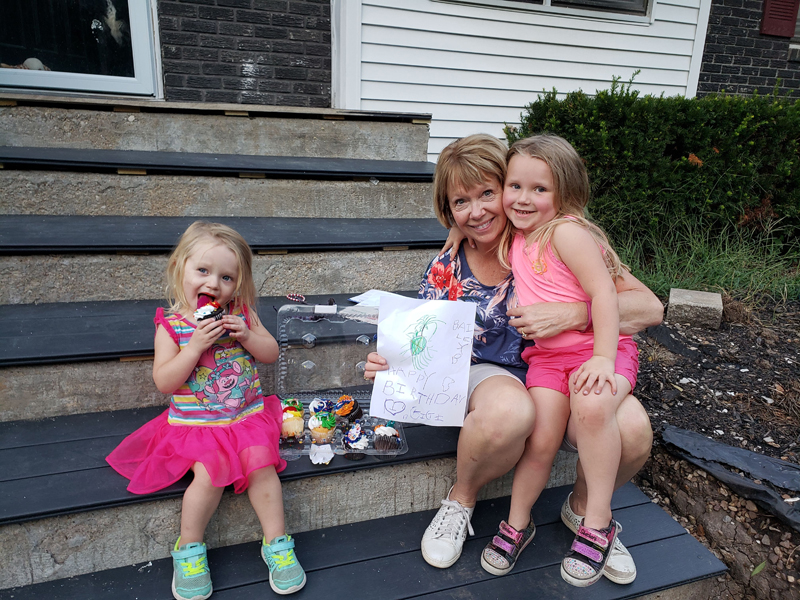
With a lot of rain in the forecast, we had to put off the railings a few more days. We were on a bit of a time crunch with my parents trip to Hawaii coming up, but we were able to get the railings up and attached with only a few minor snafus (wrong brackets, a few more trips to the hardware store, etc.). The major heavy duty work was complete and we got to celebrate Gigi with some Birthday cupcakes before they left us for paradise (not jealous at all)!


Shutters and Side Boards
I decided to broach the shutters with the same tactics my mother used growing up: buy the materials and get started so we have to finish. I’ll post our diy shutter project in another blog, but I must say that I love them. The girls helped me pick out the color (BM Antiqued Aqua Color Match – another funny story) and we couldn’t be happier. Brian and I were able to hang the first two sets ourselves, but we needed to wait for an extra long set of arms for the last ones. Luckily his parents were on the way for a visit!
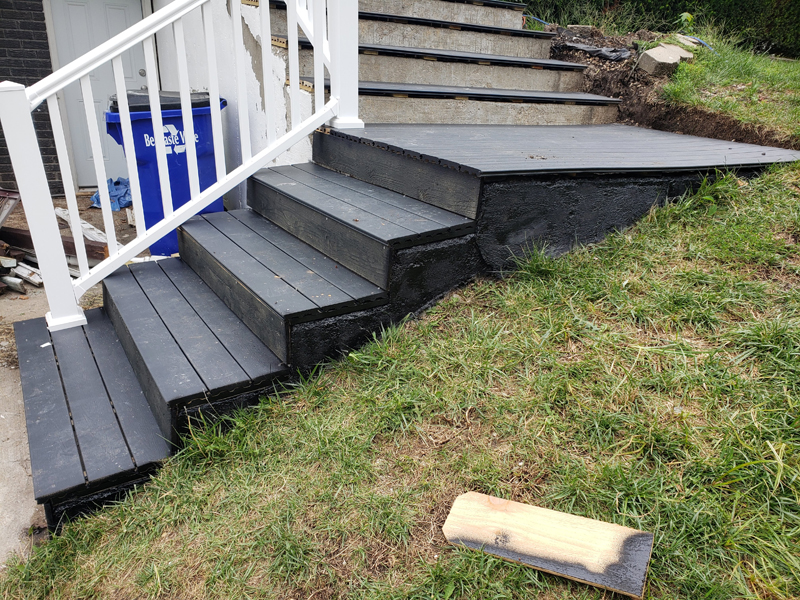
Since we had the time and the girls were occupied, we set to work on the side boards. We enjoyed working with the cedar fence boards on the shutters and lucked out that the width of the cedar fencing was almost exactly the size we needed for the side boards. We used Behr Premium Advanced DeckOver paint in Slate to paint all the fence boards first and let them dry overnight. Then we started cutting them down and attaching them to the front side of the steps with more heavy duty adhesive and screws. We were able to get most of the steps done before Brian’s parents arrived and then his Dad chipped in to help us finish and hang the last of the shutters.
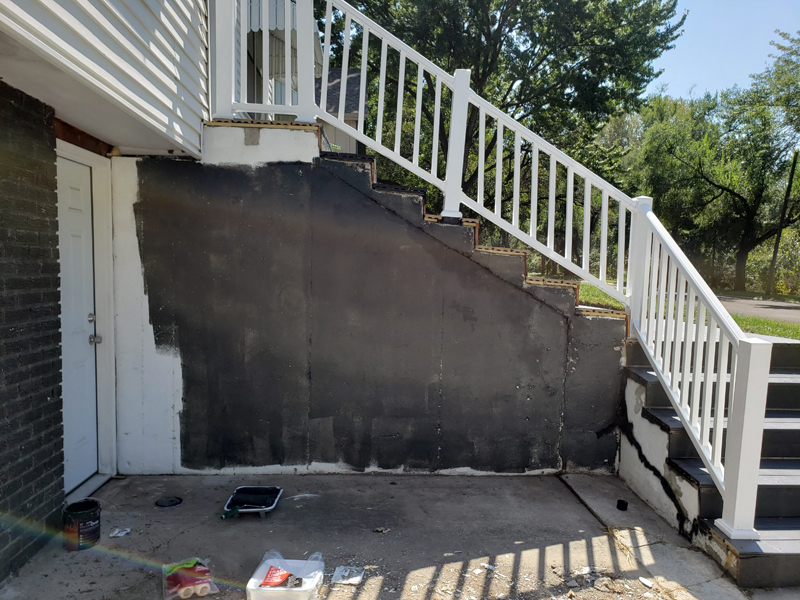
Painting Concrete
Another eye sore that I was excited to cover was the side of our steps. The previous owners of our house painted the concrete white and it was chipping really bad and really stood out against the steps.
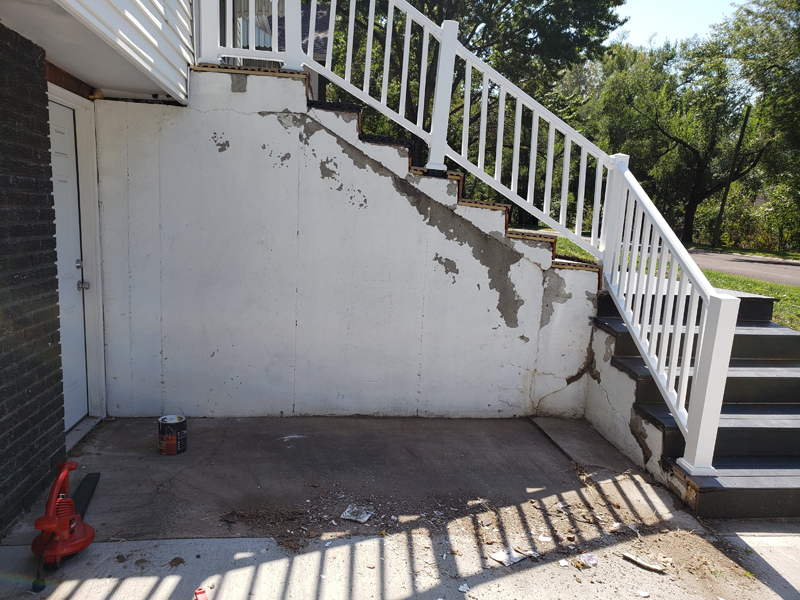
We decided to use the same paint we used on the cedar boards to cover the concrete along with some black Flex Seal to seal up the larger cracks. It turned out even better than I imagined and now our stairs have a cohesive look.
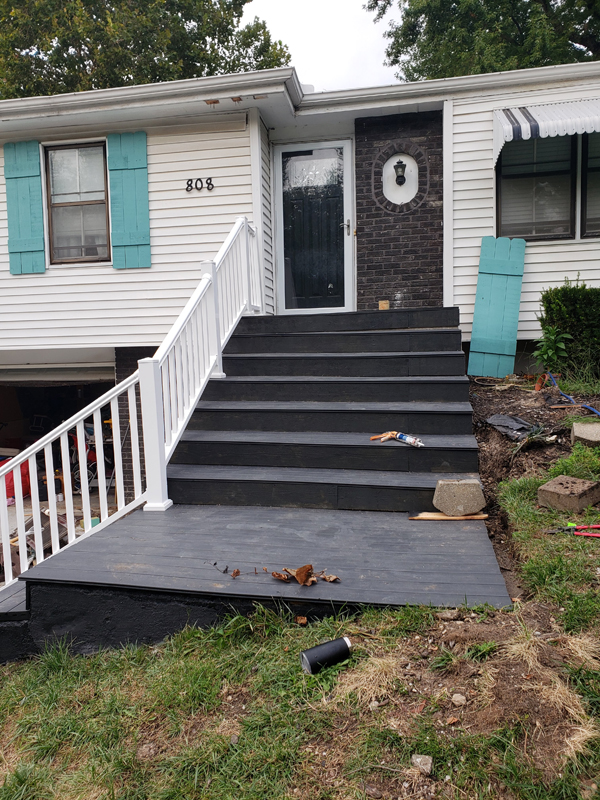

Finishing Touches
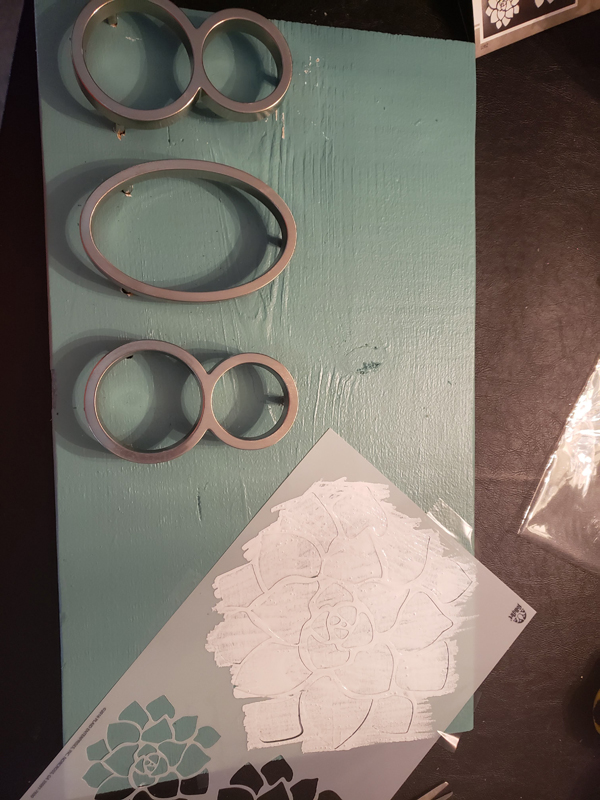
With the front porch and stairs complete, we needed to add a few finishing touches to complete the overall look. Starting with the gaping holes. I decided to cover the far left hole with a house numbers sign. We used a leftover piece of wood, cut it down, painted it and attached new house numbers. It looked a little plain so I found a stencil and painted on a flower design to finish it.
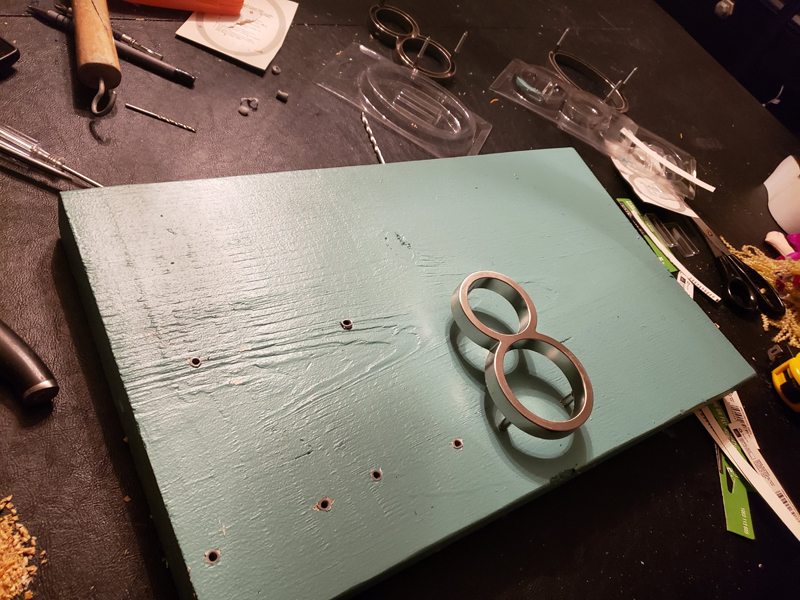
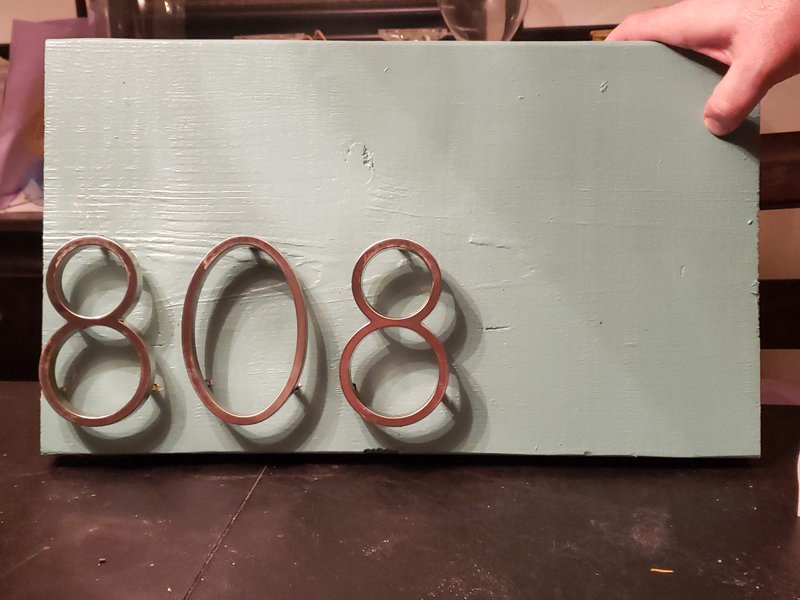
Then we bolted it in with crazy long screws.

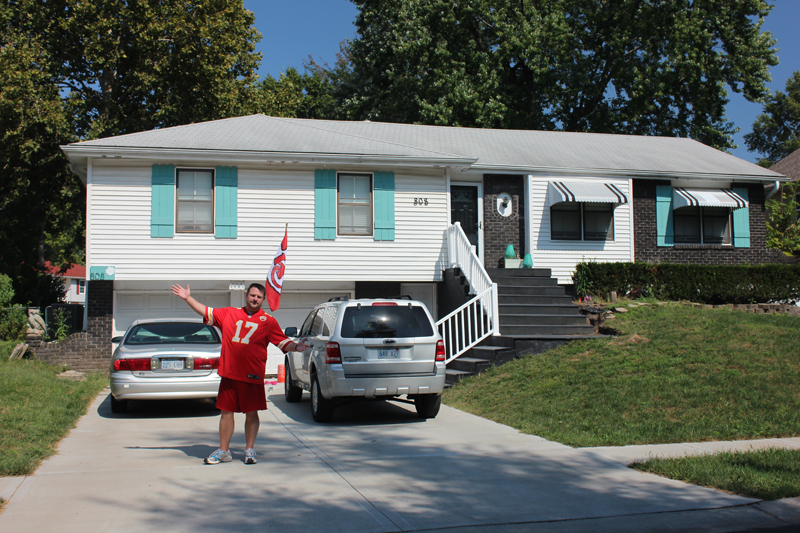
Next up was the gaping hole in the middle. We used to have a flagpole but the holder was destroyed and located on the old grill. Brian cut a piece of wood to fit the hole and attached a new flagpole holder and attached it. Now we can let our Chiefs flag fly proudly!

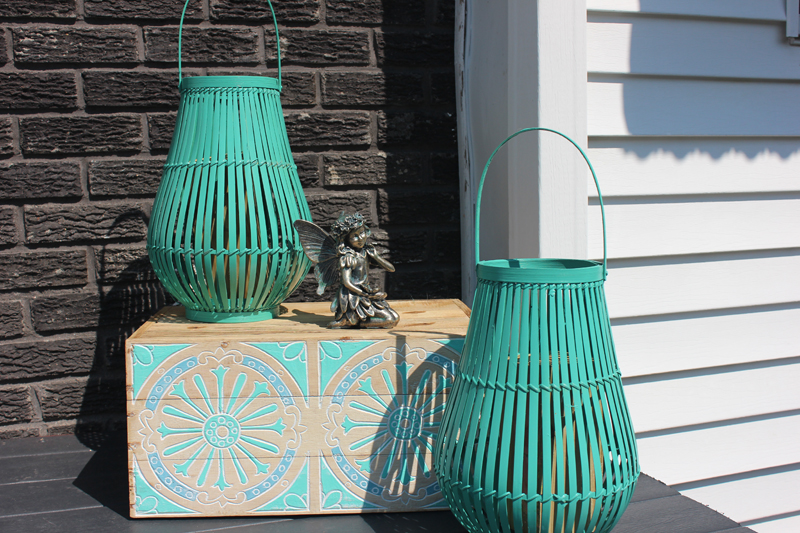
And last, but certainly not least, the front stoop needed a little love. We don’t have a ton of space, but I wanted to dress it up a little bit. Sienna and I did a little shopping and scored some lanterns, a decorative box and a little fairy on clearance that complemented our new shutters. The girls were really excited about the new additions and we can’t wait to add some pumpkins this fall!
This project was definitely a labor of love and I am so thankful for my husband, my parents, Uncle Mat and Brian’s Dad for helping us with this project. It was a lot of hard work but so worth it, especially every time we pull in to our driveway and the girls say “hello to our beautiful home”.


We’ll post about our DIY Shutters soon, but for now we’ll be resting and cheering on our Kansas City Chiefs!