Words Matter

Posted on 4 m read

Words matter. What you say, how you say it and how it is interpreted matters. When you send words out into the world, they make an impression, even if only for a moment. Words are powerful, and left unspoken, can be just as important, driving the narrative to how we view the world and, in return, are viewed.

With the power to communicate to the world at the tip of our fingertips and the ability to hide behind anonymity, words are often labeled meaningless. Why? Because we don’t want to face the consequence that what we say matters. But it does; words matter.

Another mass murder – this time, a targeted shooting aimed at a newspaper I once worked with, had me at a complete loss of words. What can you say in light of another recurring, senseless tragedy?

Thoughts and prayers?

In a time when compassion and thoughtfulness is needed most, why have we made those words so absurd?

The phrase “thoughts and prayers” has become so politicized that it now seems inappropriate to say when you mean it most. It is thrown out halfheartedly by those seeking to use those words as a gain in their political standing, a good PR move. The meaning gets lost when the words are recycled with each new tragedy and there is no action of compassion to back them up. These words matter, even at polarizing ends.

All words matter

The early findings on the shooter create a narrative that the words printed about him by this newspaper were much to his dismay. After failed lawsuits and angry social media tirade, he decided to take action and in result, ended the lives of 5 individuals.

Five individuals lost their lives for showing up to do their job that day, using words that those in their profession do to report on the news in their community. In light of the continued attacks on journalists and their credibility, reporters and writers, editors and publishers, bloggers and critics alike, use words to shape the narrative of our society, use words to report on events and happenings in this world because we want to know what is going on around us. Their words matter.

The words used to describe this tragedy, the school shootings and other mass murders, now, and in the months to come, matter. The President uses rhetoric implying that the media is “the enemy” and the “greatest threat to the country”. His words matter. The students from Marjory Stoneman Douglas High’s speak out and plead for someone to listen and to affect change. Their words matter. A politician’s auto-piloted response “my thoughts and prayers go out to [insert latest tragedy]’s family and community.” These words matter, even when they don’t directly appear to.

To be clear, I am not trying to point fingers or shift blame to one side of the other. I am not debating the first amendment, gun control, Democrats, Republicans, Libertarians, etc. I am merely stating that words matter and how they get interpreted, twisted, used as fuel to fan the embers of hate, matter. We need to be accountable for the words that we use and think about how they are shaping our narrative.

More than words

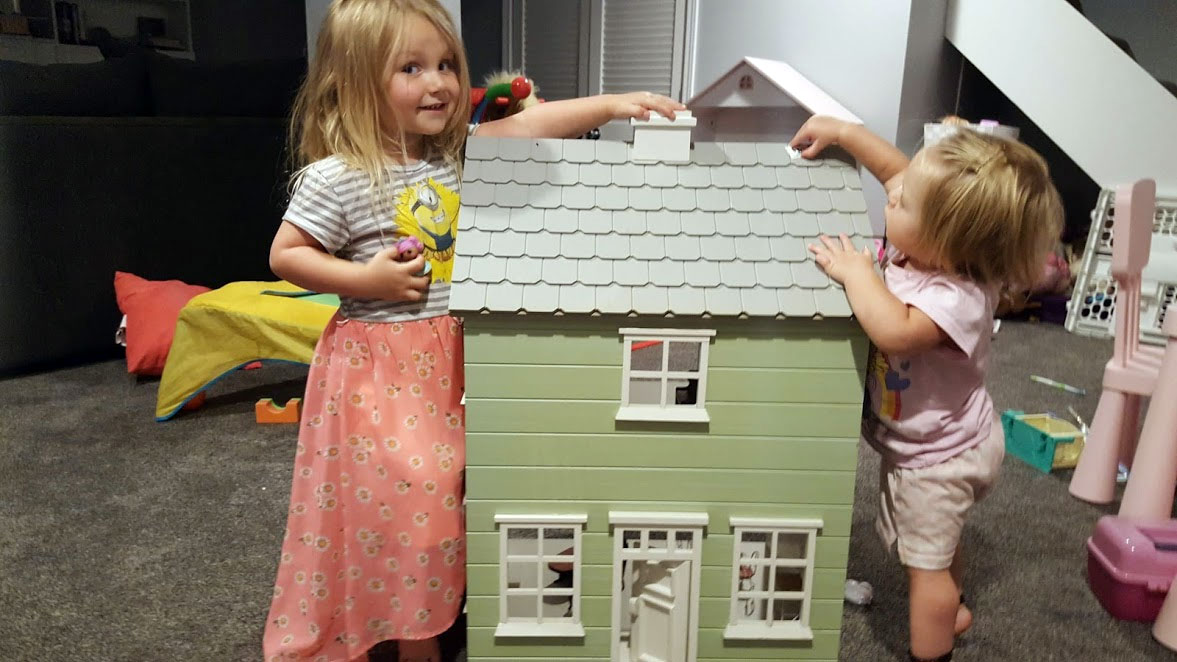
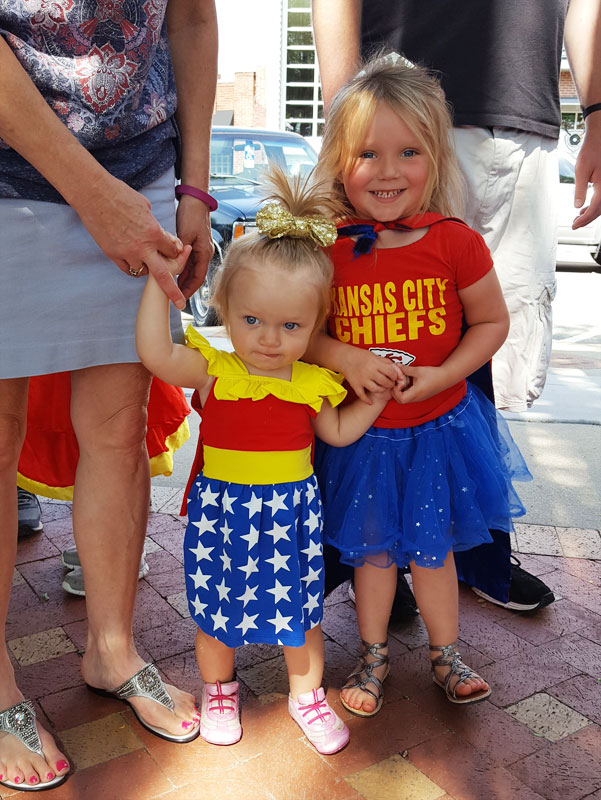
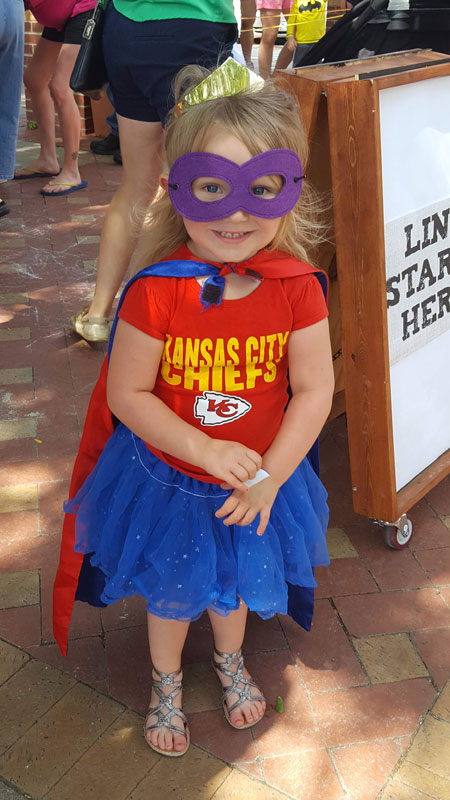
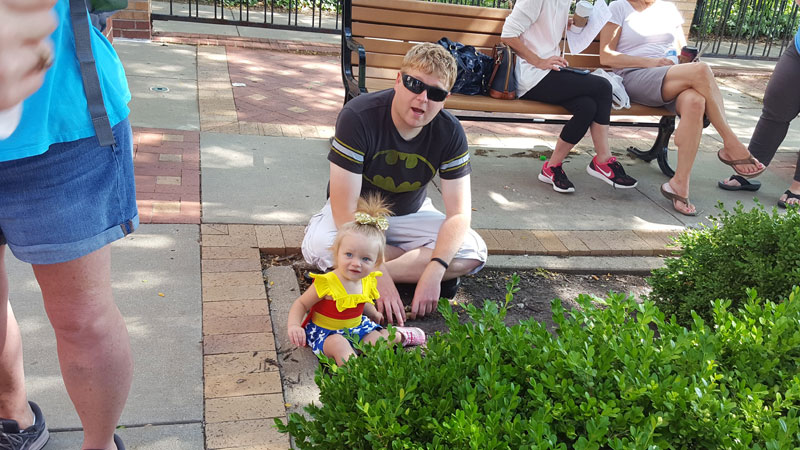
As a mom with two very impressionable little ones I have to constantly watch what I say in front of them. It’s not just the occasional four letter words that need to be avoided. It’s the inner voice, the self demeaning words that often come out of frustration that need to be watched out for. It’s the anger that comes from feeling helpless in a world seemingly filled with so much hate, ignorance and the complete disregard of common decency and respect for one another. I need to be careful with the words that I choose to say in front of my children as they are the words that they will remember most.

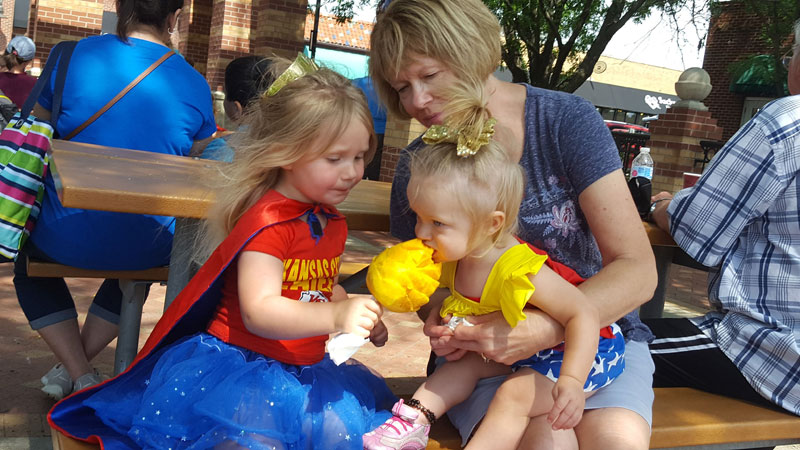
It can’t always be sunshine and roses (or fairies and princess dresses). Times are tough, there are lots of discussions that need to be had, words to be said. You can’t shy away from voicing your opinion and sharing your beliefs, nor should you. But you do need to understand that what you say and how you say it matters. As my mother always said,

Think before you speak, you never know who may be listening.

It’s time to listen, not only to each other but to the words that are coming from our own mouth. We have to be accountable for what we say, whether we are elected officials, reporters or even parents speaking in front of our children. Our words matter, we are shaping the narrative for the future.

Share this article

Fallen Angel Blueberry Trifle

Posted on 2 m read

This Fallen Angel Blueberry Trifle is heavenly light and devilishly simple. Made with Blueberry Bourbon Saucy Compote and Homemade Whipped Cream, it’s light and sweet treat made for the summertime heat. You’re just 5 ingredients away from this sinfully delicious dessert.

Trifles are fun, easy and gorgeous way to do desserts. We love making trifles for family gatherings, parties or easy dinner nights. They can be customized to your tastes, the kids love helping build them and they make a beautiful centerpiece on the dessert table. Since we had tons of blueberries from our blueberry picking adventure, we wanted to create a light and airy dessert that didn’t weigh us down in the evenings.

You can completely go homemade with this recipe but I ran out of time and bought a store bought Angel Food Cake which still tasted delicious because our local HyVee has an awesome bakery.

Bailey had a lot of fun with the layering part of the recipe, and even more fun eating the layers as she went. When it was all finished, she was really excited for how “pretty” it looked and how “yummy’ it tasted. This was definitely a winner among the entire family and one we’ll probably make again this summer!


This Fallen Angel Blueberry Trifle is heavenly light and devilishly simple. Made with [Blueberry Bourbon Saucy Compote|http://itsaschorrthing.com/blueberry-bourbon-saucy-compote/] and [Homemade Whipped Cream|http://itsaschorrthing.com/quick-easy-homemade-whipped-cream/], it's light and sweet treat made for the summertime heat.

Hope you and your family like this as much as we did!


Share this article

Quick & Easy 3 Ingredient Homemade Whipped Cream

Posted on 1 m read

If you’re like me, you never have whipped cream when you need it. I either forget to let a certain tub defrost in time for me to use it or I don’t have enough on hand. This recipe for Homemade Whipped Cream can be made in about 6-10 minutes and you can make as much or as little as you need for your recipe or as your favorite topping. Plus, if you do a lot of cooking or baking, you probably have these ingredients on hand.

Our girls prefer this to the canned or tub version and I am happy to know exactly what ingredients are used. It’s also a very kid-friendly recipe and our girls love watching the whipped cream come to life!

This Quick & Easy 3 Ingredient Homemade Whipped Cream will make you leave the packaged cans and tubs in the aisle. It's super simple and just as delicious.

What are your favorite recipes to try with whipped cream?

Share this article

Treasure Found: Pottery Barn Westport Dollhouse

Posted on 0 m read
Note: This post contains affiliate links but all thoughts, reviews and ideas are all mine.  

We find it and try it before you go out and buy it

Find It

When you’re living with two little girls that are obsessed with all things girly, you have lots of dolls. There’s Disney Princess dolls, Barbie Dolls, Little People dolls and baby dolls. They come in all shapes and sizes and it seems you can never have enough dolls or places to put them. Then you have the dollhouse – the Barbies need one, the Princesses have a tent, the Little People have their variety of castles and farms and then there are the little figurines that have been homeless for the last three years.

Good news for the little figurines (also mostly Disney Princesses) we found their version of the Barbie Dreamhouse…the Pottery Barn Westport Dollhouse. Not only is it absolutely adorable and in good shape, but it was only $20!

Pottery Barn Westport Dollhouse

Try It

It was just sitting there, in a massive church garage sale, practically begging for us to take it home with us. Bailey and Gigi were parking the car so I knew I had time to check it out and look for a price tag before Bailey saw it and had to have it. How much was I willing to spend? Then Sienna started squealing and kicking, trying to jump out of the Tula on my back and I knew we wouldn’t be able to walk away empty handed.

When I saw Bailey running full steam ahead, shouting, I got a quick glimpse at the price tag and breathed a sigh of relief. It was definitely worth $20 so with two super excited kiddos, we flagged down one of the volunteers, paid and loaded it in the back of the Escape.

In the car my Mom reminded me that she had some old furniture from my old dollhouse and she would go through it and find the least breakable pieces that we could stock it with. $20 and we already had furniture? Score! We got it out right away and the girls immediately grabbed a handful of princesses and started lining them up to show them their new palace. They haven’t stopped playing with it since.

Would we buy it?

I am a little on the fence on this one. It is absolutely adorable and unlike the plastic or cardboard ones you find all over the place, this is going to last a long time. I absolutely detest the cheap plastic doll houses…you can find them for super cheap but that’s what they look like, super cheap. I want something that the girls can play with for years and could be passed down to their babies some day. Something that isn’t a total eyesore in our house.

I love the overall aesthetic and quality of this house, but the original price tag for this is $199. That’s awfully expensive for a doll house, but the amount that it has already been played may be worth the high price. If you can find this for less at a sale and it’s in good shape, it is totally worth it. If I had to choose a doll house for two girls as a big statement gift than yes, I would definitely shell out the $$ for this one.

Buy it (or something similar)

We have the Pottery Barn Westport Dollhouse but they have a lot of other really cute options on their website. I also found a few on Amazon that I like:


Share this article

Top 10 Tips & Tricks for Painting Cabinetry

Posted on 7 m read
Note: This post contains affiliate links.  
Thinking of updating those dingy kitchen and bathroom cabinets? Before lifting that brush take a step back and take a look at some of the lessons we’ve learned painting cabinetry and some of our favorite products and tools we used.

1. Do your research.

Before you start any projects, I highly recommend doing lots of research on painting cabinetry because everyone does it a little bit differently, and you need to do what you feel comfortable with. Definitely look online through multiple home improvement websites and DIY blogs, ask a professional contractor/painter or troll the aisles of the hardware store and ask one of the older guys working in the paint department – they are my favorite experts and they tell great jokes.

2. Buy the expensive paint. 

You are going to be looking at your cabinets everyday…go all in for the good stuff. We opted for Benjamin Moore Satin Impervo, and yes I think my husband may have choked on his gum and almost fainted from sticker shock when we first went to ring up our purchase (he can be super dramatic at times), but the guy behind the counter reinforced my decision by saying that there is a reason why the paint is expensive…it’s the best and it’s what the professionals use. We had to go to a specialty paint store to find the Impervo, so check your local store before you go. We painted our cabinets 5 years ago and they have held up really well against tiny fingerprints, crayon and marker drawings (it just wipes away), the occasional dings and scratches and even withstood a little blood spatter from the hubs mandolin incident (ouch – another lesson learned). 

3. Always do TWO coats of primer. 

Trust me, even if you think one coat will do, use two. Primer dries super fast and you can do two coats really quickly. I admit, there are a few places I only did one coat of primer on and still regret it. With two coats of primer, you can get away with only one coat of Impervo, especially in places that won’t be seen as much…and this is especially good so that you “don’t have to take out a second mortgage on your house to buy another gallon [of Impervo]” – quoting my wonderful, yet over-dramatic husband. A gallon of Impervo is about $90, so it’s a little pricey, but again, so worth it. Also, make sure to use an oil-based primer if you are using oil based paint and if you can paint outside, do so, or create lots of ventilation in your space…the primer is stronger than the Impervo. Side note – please make sure your pets and children stay outside and away while you paint, especially with oil-based products. It would be wise to keep the area clear for several hours after while it dries and make sure the area is well ventilated. Pets and children are more sensitive to chemicals and smells than you are and you do not want them to have breathing problems! 
Left side – Two coats of primer, Right side – just one. It makes a huge difference in the end

4. Use good brushes and rollers. 

Make sure to use a roller specifically made for oil based paints if you are using the Impervo paint so it glides on smoothly. Invest in a few finishing brushes that are angled for trim and to get into the corners of the cabinetry…you can’t go wrong with Purdy brushes and BM makes some nice ones too…cheap brushes are ok for priming, but just like the paint, don’t get cheap with the brushes…they are expensive because they work the best and you don’t have as many brush marks on the finished project as you would with cheaper versions.

5. Don’t skip the sanding. 

If you are going to take the time to paint your cabinets, make sure to take the time to sand them. It helps even out the surfaces and removes any gloss, residual paint and anything else that has caked on your cabinets over the years. You don’t have to sand them all down to the original wood, but scuff them up plenty so that the primer can soak in and make the paint go on smoother and more appealing as it dries. For the cabinet’s shell (that’s what I call the area left after taking off the doors and drawers), you can clean everything with a TSP Solution and then use a Liquid Sander Deglosser so you don’t have a dusty mess all over the kitchen. We also used the Liquid Sander Deglosser before priming, just to cover all my bases…make sure to use gloves when handling this stuff because it is nasty and can rough up your hands a lot. You will also want to lightly sand down drips and rough areas in between each layer you paint, to finish with a smooth surface. Just use a medium to fine-grit sanding sponge and wipe away the debris before the next coat of paint.

6. Start painting the backs first. 

You will want the final coat of paint to go on the front side of the cabinets, so plan accordingly.

7. Be patient. 

This is one of the most challenging parts for me because I would have liked for our kitchen remodel to have been over in a weekend and I have the patience of my mother (zero). This is extremely important if you are using the BM Satin Impervo paint because although it will be dry to the touch in 4 hours, it needs at least 12-24 hours to settle between coats. So start early and then sit back and relax, or make your husband start on another project while you wait. Once you get the final coat done, your patience will be tested because you really need to wait 7 to 10 days before you attach the doors and add on the hardware. This paint likes to take its time to settle and harden into the intended finish. When you are already investing a lot of time and energy into a big project, a couple more days won’t matter in the long run and it will be well worth it in the end. Tip: Look online for hardware for your cabinets and drawers. You’ll save money and there’s a lot more options to choose from. Our favorite is:If you order hardware online, do it on the last day of painting so you have no choice but to wait and it’s like a special gift to yourself once they arrive.
8. Have everything prepped and ready to paint before you start. 
It’s easier to clean, sand and paint everything at once, so take the time beforehand to make sure that you have all of the supplies that you need and all the hardware off before you start. Here’s a pic of most of the supplies that we used:
9. Use paint thinner.
When you are using oil based or acrylic paints, soap and water will not clean your brushes off at all. Know the saying oil and water don’t mix? That’s because they don’t so if you try to just rinse off your brushes, you’re wasting your time. Also, don’t try to dilute the paint thinner with water…it doesn’t work and if you leave your brushes sitting in the mixture for a couple days because you forgot about them, they will be ruined. Use straight paint thinner in a bucket (or a milk jug cut in half) and set your brushes in the thinner for at least an hour, then take the brushes out back and rinse with your garden sprayer in an area that you don’t mind getting paint all over. I also dip my fingers (and most of my hand) into the thinner to loosen the paint that I have splattered all over myself and rub the paint until it’s a milky color and use soap and water to clean. I’m not sure if it’s that great for your hands, but it’s the only way to get the paint off.
10. Have Fun! 
Painting cabinetry can really suck the life out of you, but for me it is totally worth it. I hit shuffle on my iPod, hook Tequila up on a long chain in the front yard and start rocking out with my brush. My music taste is a bit eclectic and I tend to get lost in the music so the people driving down our street and exercising on our trail have probably had a few laughs at my expense while I am rapping & shaking it to some old school Salt-N-Peppa and Trina (Steph – you know what’s up), rocking out to some Wolfmother and bustin’ out some smooth moves to MJ, but it does make the work a lot more fun!
Hope these tips helped, and please feel free to let me know if you have any questions on any of the products that we used.

Share this article

Superhero Party at the Market

Posted on 3 m read

Even though it may look like we are a Princess Only household, we occasionally trade our big princess dresses for capes and tutus. Brian and I never got into comic books or superheros growing up so we don’t flock to the theaters to catch the latest superhero flick (which seems to come out every week). Other than Deadpool and Black Panther, I don’t think I could tell you who was who, much to my comic book loving brother’s dismay.

That all ended when Bailey saw a promo for the Wonder Woman movie a couple months back. We waited until it came out on OnDemand and made it a rainy day movie marathon. Withing the first 5 minutes, Bailey was hooked and we were obsessed with Wonder Woman. She was a strong, independent warrior that didn’t need a man to get things done so as far as role models are concerned, she was perfect in our book. Seeing Gal Gadot being super sweet to her fans didn’t hurt, either.

We were on a mission to find cute Wonder Woman outfits and accessories and we scored big time at a few consignment shops and garage sales. Sienna has really gotten into dressing up like Wonder Woman too and is obsessed with the Lasso of Truth we found. Bailey’s really gotten into character lately at the park when the bigger boys try to push her around. She just stands there with her hands on her hips and says

I am Wonder Woman, I will crush you!

When Downtown Overland Park announced their Super Hero Party at the Farmer’s Market, we knew we had to go. Bailey’s been talking about it since the Princess Party and we’ve had our outfits planned for the last week…though we had to trade out our long sleeve dresses in favor of more summer-friendly attire, but that’s ok, Wonder Woman can be flexible. They may not have been too happy to leave their Lasso and Sheilds in the car, but Mom convinced them that even Wonder Woman needs to check her accessories before going out in public.

Waiting in line to meet Super Girl

Downtown Overland Park knows how to throw a party. They had coloring activities for the kids, there were people passing out water bottles to everyone standing in line and the kids also go cool super hero masks and stickers for being out there.

Both Super Girl and Spiderman were out taking pictures courtesy of The Storybook Forest and they were great with all the kiddos, taking the time to talk with each and every child. Sienna wasn’t too sure about Super Girl…I think she was hoping for Wonder Woman, but she was really not digging Spiderman – I think it was the full body tights. Bailey loved it all and made sure to cheese it up with everyone, while hugging her superhero peers in line.

Wait…You’re not Wonder Woman
Not everyone was a Spiderman fan
Who doesn’t love a good face mask

We were so glad that Gigi and Uncle Mat came to the party with us! After meeting the superheros we walked through the farmer’s market and picked up a couple treats, including a Mango Flower which was absolutely delicious! We recommend adding cinnamon and honey to it…it was sticky, but a perfect treat!

We finished the mango covered in sticky sweetness so we had to head over to the fountain area for a lot of splashing fun! How can you resist?

All that splashing wore us out!

Wonder Woman out

Even Superheros Shop

To dry off a bit we decided to walk around and check out some of the local shops and cafes. If you haven’t been in awhile, there are a lot of cute boutiques and new vendors. Camp David is a super cute clothing boutique and I found a great new shirt for $15 and Bailey found the cutest dress for only $2 at Razzleberry! She perked right up and of course had to wear it out of the store.

Can’t beat a summery $2 hi-lo

We picked up some sweet treats from The Clock Tower Bakery to end a perfect morning outing. Once we got home, I asked Bailey if she had a good day and she said,

No Mommy, it was a SUPER-Hero day!

Share this article

Boozy Blueberry Grilled Cheese

Posted on 1 m read

Looking for a way to step up an American classic? Upgrade your favorite comfort food by swapping out your boring yellow cheese with Brie and topping it with our Blueberry Bourbon Saucy Compote for the perfect combo of cheesy sweetness that will have your family begging for more. This adult grilled cheese was already asked back for a repeat performance!

Despite the name, this recipe can be devoured by the entire family as you control the amount of compote (and bourbon) added. Our eldest loved that she was eating a fancy grilled cheese, just like her idol, Fancy Nancy, and our littlest loved getting the blueberries all over her face.

Feel free to add any additional flavors – red onions, spinach, additional cheese, etc. It’s completely customized to your taste!

This cheesy classic gets an adult makeover with a little Blueberry Bourbon Saucy compote drizzled over melted Brie. The perfect sweet and cheesy comfort food!

Hope your family enjoys it as much as ours did. As Fancy Nancy says, Bon Appétit!

Share this article

Blueberries Ripe for the Picking

Posted on 3 m read

Summertime means fun in the sun, fireworks and picking blueberries for our family! It’s a tradition we started when Bailey was little and we look forward to continuing it each summer. The girls are both blueberry addicts and a little container doesn’t last a few hours in our house so when I saw that The Berry Patch was opening for the season I knew we had to get out for some picking.

The Berry Patch is our favorite blueberry farm, but there are a lot of other great places to pick fresh blueberries around the city. Another favorite, Gieringers Orchard and Happy Valley Farm – (we’re going to visit them soon) are also great local farms for fresh blueberries.

Never been picking before? Here are a few tips that we’ve learned along the way:

Start early.

The best picking is in the morning and if there are a lot of people out picking, they may shut the fields down early. There’s nothing like starting the morning off with some outdoor picking…plus there’s nothing like fresh blueberry muffins to start off the morning!

Ready to go!

Grab a picking partner.

Not only will you have more fun picking blueberries with friends and family, it also makes picking easier if you have someone picking while the other holds the bucket. Or in our case, keep the kiddos from over-stuffing themselves with blueberries and chasing them in the field. It’s a great activity for the whole family and the perfect way to spend some summer time with the ones that you love.

Getting a lift from Pop Pop and Gigi
Uncle Mat is one of the best blueberry partner

Find the BLUEberries

You want to make sure that the berries you pick are ready to be eaten. They will be dark blue, especially after a light rain. If it’s been dry for a few days, the blueberries may have a light purple haze, but you can easily rub it out to see the real color. Leave the green and red ones on the bush so they can ripen for future pickers.

Wear comfy clothing and good sneakers.

You have the option of driving near the fields but there will still be a lot of walking and you’ll be on your feet for quite awhile. We went picking right after Bailey’s soccer practice so we avoided any fights over princess dresses before we left.

Keep hydrated.

Blueberry picking is at it’s peak when it’s hot out, so it’s important to drink lots of water and stay hydrated in the summer heat. It also takes a lot of work to pick all those blueberries so make sure both the kiddos and the adults take some water breaks.

Slather on the sunscreen and bust out the bug spray.

You’ll be out picking for awhile and even if there’s some cloud cover, you’ll get a lot of sun. And bugs love berries and the woods surrounding them so make sure to spray before going out in the fields to avoid any pesky mosquitoes and ticks.

Checking out the new bugs she discovered

Taste test.

You can’t go blueberry picking without trying some of the sweet berries right off the bush. How do you know if you’re going to like them or not, right? It’s a good thing they don’t weigh the girls before and after or we’d probably double our total cost.

We taste tested a lot of berries

Fill your bucket.

You’re out there and it’s super hot, but fill up your bucket. Blueberries last quite a long time and they freeze really well. We love frozen blueberries as snacks and in smoothies, plus they are easy to bake with. Go big or go home right?

Fill your bucket

Have Fun!

It can be tiring and quite a bit of work filling your bucket, but take time to enjoy the fields and spending time with your family. Make a fairy house with your kids, play tag or hide and seek in the bushes. Then cool off with some blueberry lemonade and fresh blueberry muffins for the perfect summer morning.

We hope you and your family enjoy blueberry picking as much as we do. It’s a little more work than strawberries, but even more fun. Here’s another look at part of our haul:

Looks like we’ll be coming up with lots of blueberry recipes for this summer. Stay tuned!

Share this article

Blueberry Bourbon Saucy Compote

Posted on 1 m read

When you marry a Kentucky boy you’ve got to learn to do 2 things: Pronounce Louisville correctly and know how to choose a good whiskey. We’re a Maker’s Mark family here so I wanted to make a special treat for the hubs while using up some of our fresh picked berries. This Blueberry Bourbon Saucy Compote can be paired with your favorite dessert or to dress up chicken, fish or steak. Make it as boozy as you want or tame it for the kiddos.

This Blueberry Bourbon Saucy Compote is the perfect way to use your fresh picked blueberries to top your favorite dessert, grilled cheese, steak, chicken or fish, and more. You can make it as boozy as you want or keep it tame for the kiddos. It's an overall crowd pleaser!

Try this out on some grilled chicken or fish, top it on your favorite ice cream or try out a few of our favorite new recipes:

Boozy Blueberry Grilled Cheese

Fallen Angel Blueberry Trifle..coming soon!

Share this article

Dream Kitchen Island DIY On A Lemonade Budget – Phase 2 Building Bookshelves

Posted on 5 m read

Our kitchen island is one of our favorite DIY projects and overall addition to the house. We designed and built a customized kitchen island base ourselves…for under $80! Let’s take a look at the next phase – building bookshelves.

We left off with Phase 1 where we cut down and started painting the cabinet section of our new kitchen island. The next piece of the puzzle was determining how big we wanted the island to be. For me, I wanted the island to be the center and showpiece of our kitchen and our home. We spend so much time in the kitchen and I never have enough counter space. In order to measure out how big we wanted the island to be, I needed to decide what I wanted to do for one or both sides. After looking at several photos online, I decided I wanted some sort of bookshelf on one of the sides to hold cookbooks, photos, kitchen items, etc. and the other side to be pretty open for seating.

We wanted to create shelving on one side of the island for extra storage and to display cookbooks and some of our favorite collectibles (reminder – we built this before kiddos, back when we had nice things) but we didn’t want to spend an arm and a leg getting something custom built. Instead we decided to use what we already had to create something we really wanted.

Before remodeling our kitchen, there was a dark, built in bookcase covered in wood paneling and faux railroad ties that separated the kitchen from our main room. During demo we made sure to tear down the bookshelf carefully and salvaged the main pieces of wood.

Kitchen before: bookshelf separator

There were 3 boards that were in good shape but they were too long and an awfully stained dark brown. We took off the chunky trim and sanded down the wood so that we could start designing a bookshelf.

The Design

I had stumbled upon Ana White back when remodeling the kitchen was still a pipe dream and fell in love with her ideas and the simplicity of her designs. If you have not checked out Ana’s site, it’s a must for any beginner to advanced builder and her site inspired many of our home projects.

There was one projects aesthetic I was drawn to, her Modern Craft Table.  I liked the dual-sided shelving of the bookcase and it seemed like a project we could tackle with the supplies that we already had. Since I wanted one side of the island open for seating, so we only needed one and figured I could convince Brian that building just one would be a cinch!

Now before we could get building, we had to plot out where the island would go, the height we wanted the island and the best length of the side bookshelf. We had the space to bring it out about 4.5 feet and I figured, go big or go home! Once the depth was figured out, we had to decide on the height of the island. We went back and forth on this a little bit and decided that we wanted the island to be taller than the rest of the kitchen

Looking at the cabinetry piece we had, I realized it was a little too short for what I was envisioning. I found this chunky piece of baseboard trim I really liked that didn’t break the bank so after measuring, we lifted the entire piece by setting it on a few 2x4s and attaching them with screws.

If you are looking at Anna’s plan, we made a few adjustments to fit our needs. Since we raised the cabinetry up we wanted to make sure the bottom bookshelf was high enough to accommodate the trim that we found. Then we decided to make it a three-sided shelf with a large bookshelf in the middle and two smaller bookshelves as end caps. We adjusted the measurements of the longer bookshelf to accommodate the design. After securing everything with screws, we brought it upstairs to get a better feel for the entire island.

View from the side

In Anna’s plan, she left the shelves open, but we wanted to close the back of the bookshelf so we took a piece of leftover plywood and cut it down to fit the entire back of the bookshelf. It was a really large, thin piece so we were able to cut it down to fit not only the back of the bookshelf but the other half we planned to use for the back of the cabinetry piece – bonus!

We also adjusted the plans a bit when we laid out the shelves on all three sides. We wanted to make sure that the shelves were large enough to fit our larger cookbooks and of course some of Tequila’s toys. Oh how much has changed since we started finished this project! We customized the measurements to fit our needs and made the top shelf a little shorter than the bottom two.

Back when all the toys were Tequila’s
View from the front of the island

Seeing the outline of the project in the kitchen space was really exciting and it started feeling more real. I couldn’t wait to start finishing it, but first we had to get it painted.

Time to Paint

With all of the nooks and crannies in the bookshelf we decided to use spray paint primer that we had purchased a few months prior for another project. I love spray paint, especially to save time and energy. It definitely helped cover all of the shelves in the front but I did paint the backside with a brush because it will be seen from our main room and I wanted a smoother surface. We did 2 coats of primer on the entire piece.

Spray primer on the front
Brushed on the back…you can tell the difference between the two coatings when you look at the top left corner
Another shot of the sprayed primer front

When the primer, about 20 minutes, we got to work brushing on the same Impervo we used on our cabinets. We let the piece set overnight before adding the second coat and then we let it rest in the basement for 7 days to set and cure.

After 2 coats of paint and 2 coats of Impervo

The best part of the bookshelf? It didn’t cost us a thing except our time and some creativity. So if you’re keeping tabs, we’re still at $40.

Cost Per PieceTotal Cost
Kitchen Cabinet $40.00 $40.00

Next up, Phase III . Want to start out at the beginning? Visit Phase I of our Dream Kitchen Island DIY on a Lemonade Budget.

Share this article