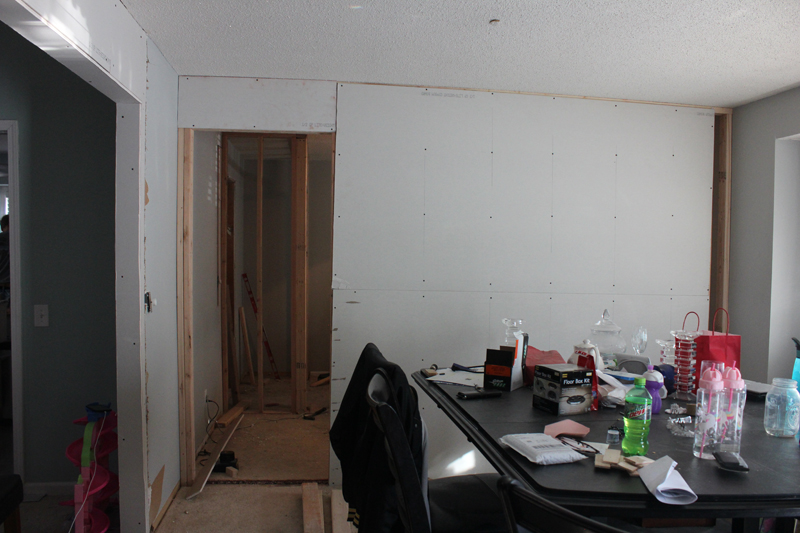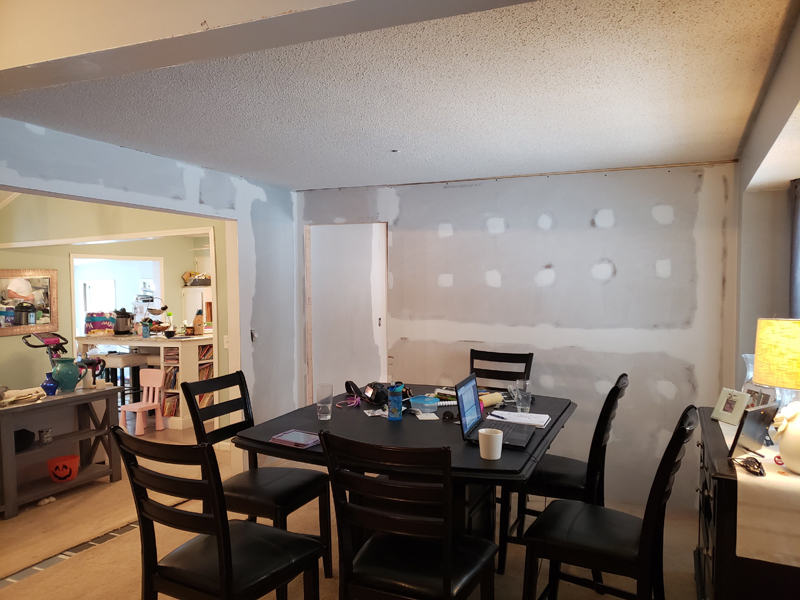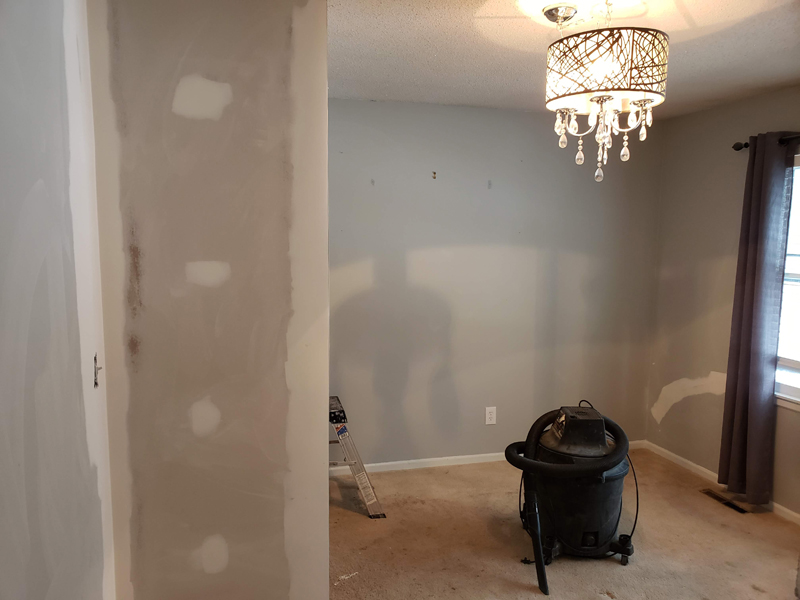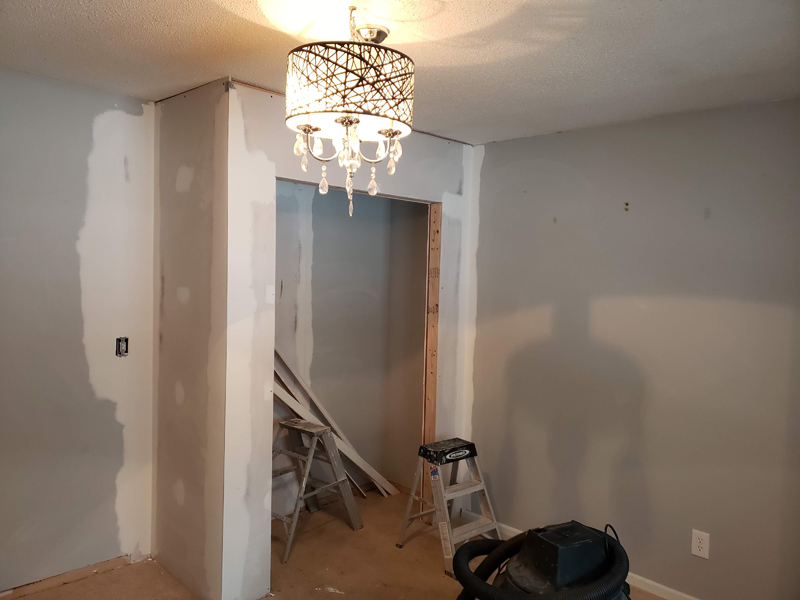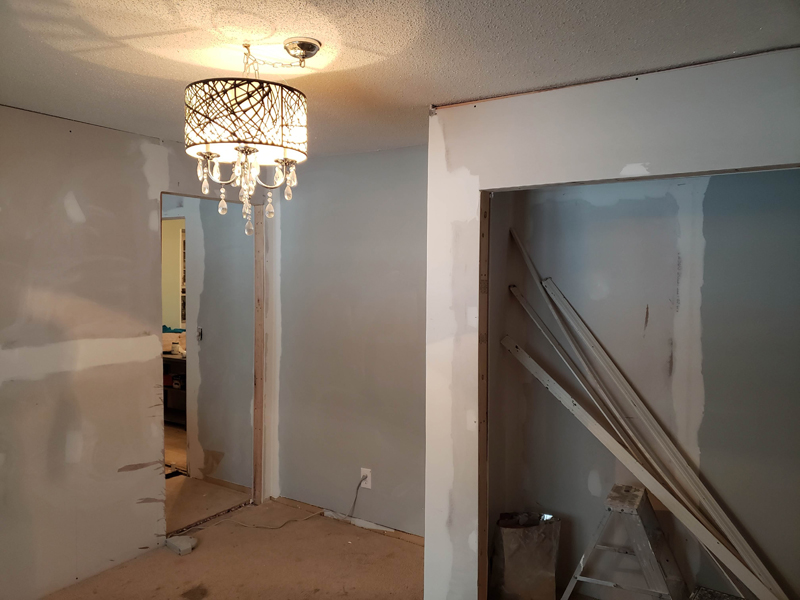
Happy New Year! We’ve kicked our Main Room / Baby Room Makeover into high gear. We’ve been covered in saw dust and dry wall dust for the last two weeks, but the results have been totally worth it. Brian’s getting the primer on the wall right now so I thought I’d share a few updates.
Temporary Wall Takedown
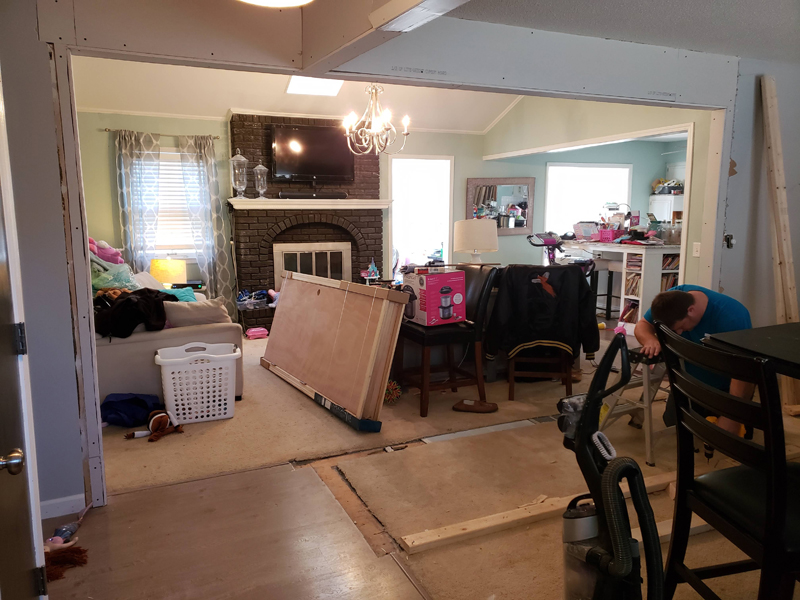
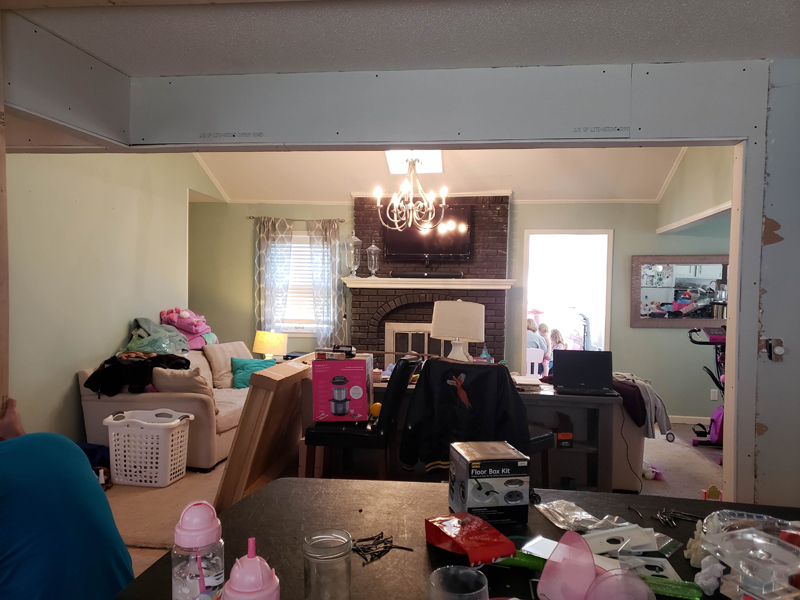
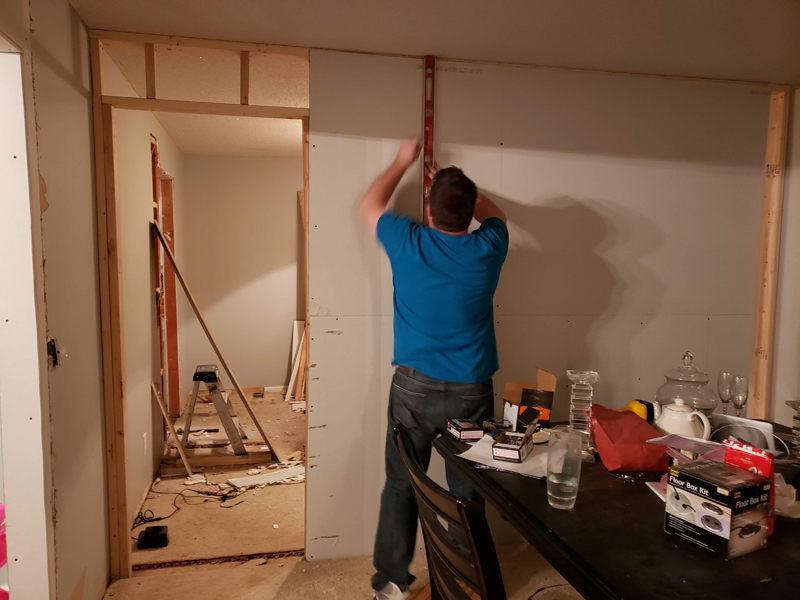
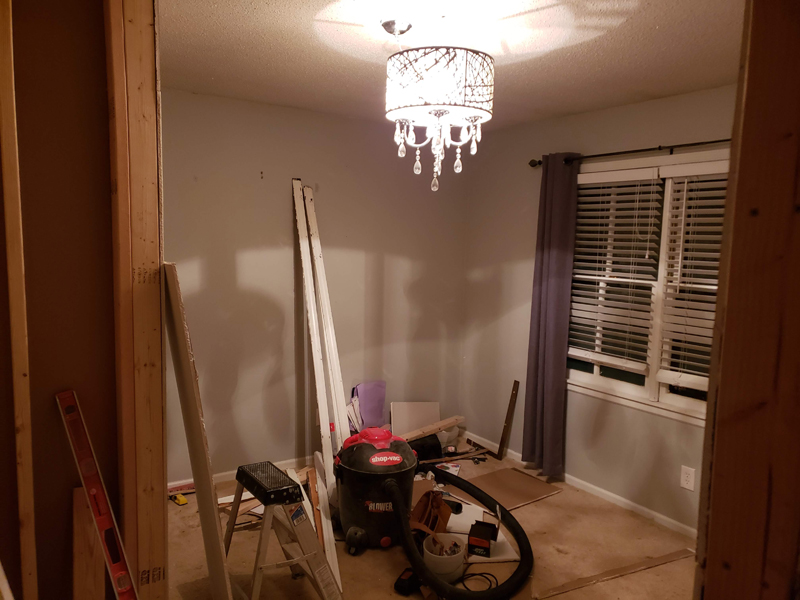
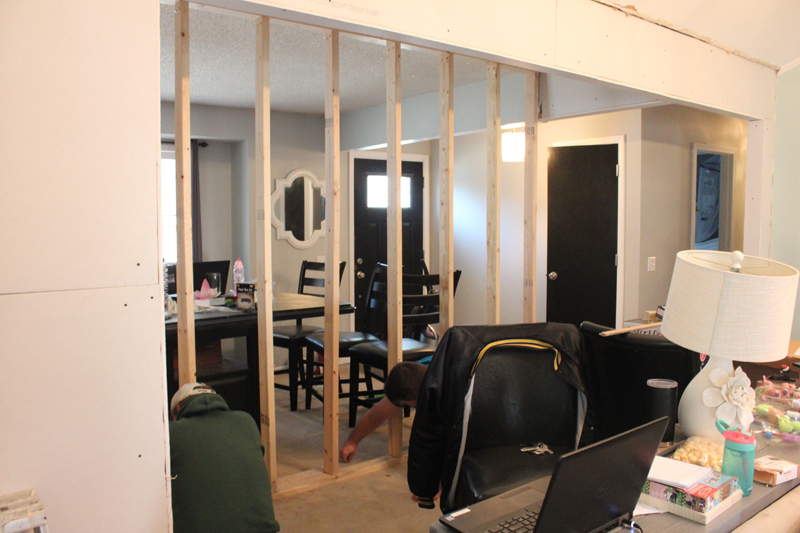
One of the most exciting parts of the makeover was taking down the temporary wall. We had to wait to put up the Christmas tree before we could do it, but it was worth the wait. Once the wall was down, you could see the open space we were working with.
Building the Wall
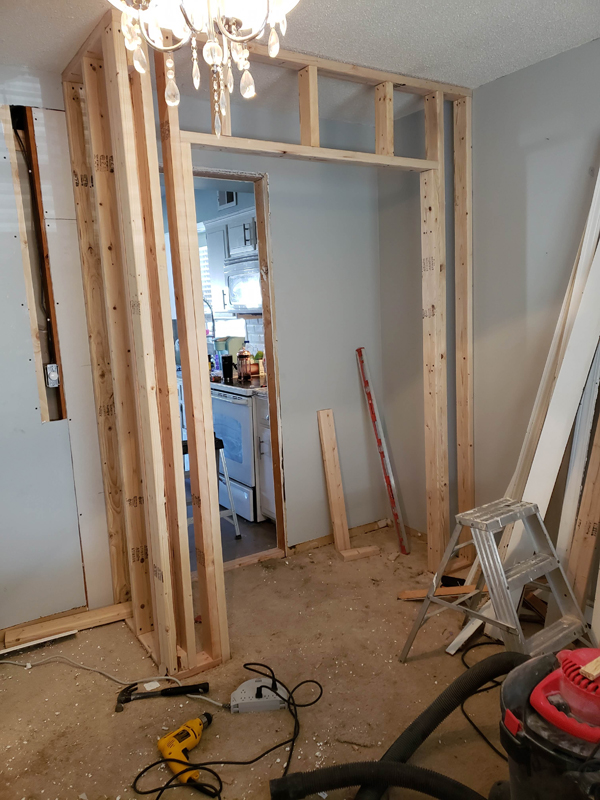
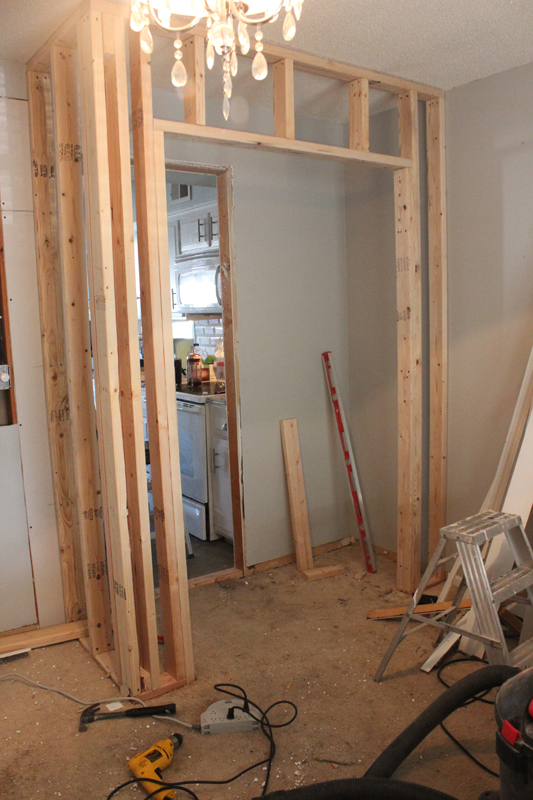
When one wall came down, the new one was ready to be put up. When we designed the room we mirrored the layout of Bailey’s room. We also had to be mindful of where the beams were in the ceiling so we could anchor the wall to it for stability. Luckily Dewayne had marked where the beams were in the ceiling so we didn’t have to get up and measure ourselves.
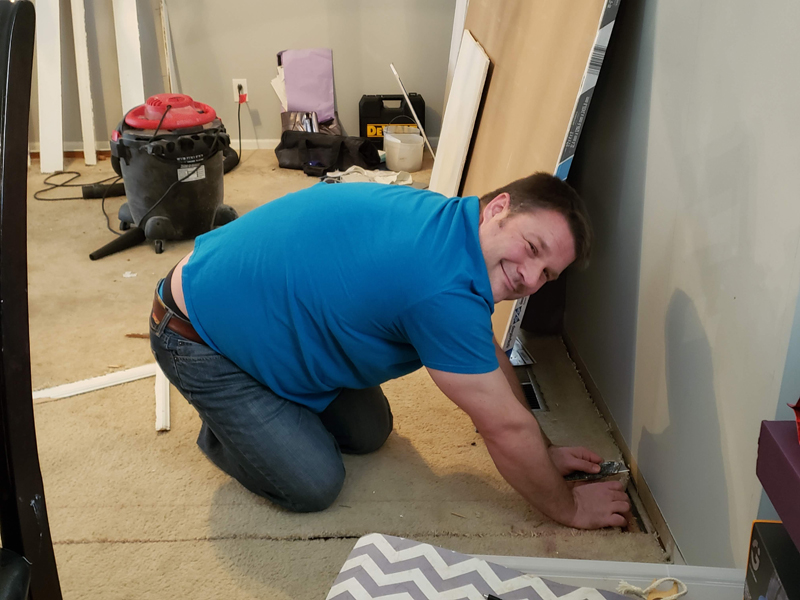
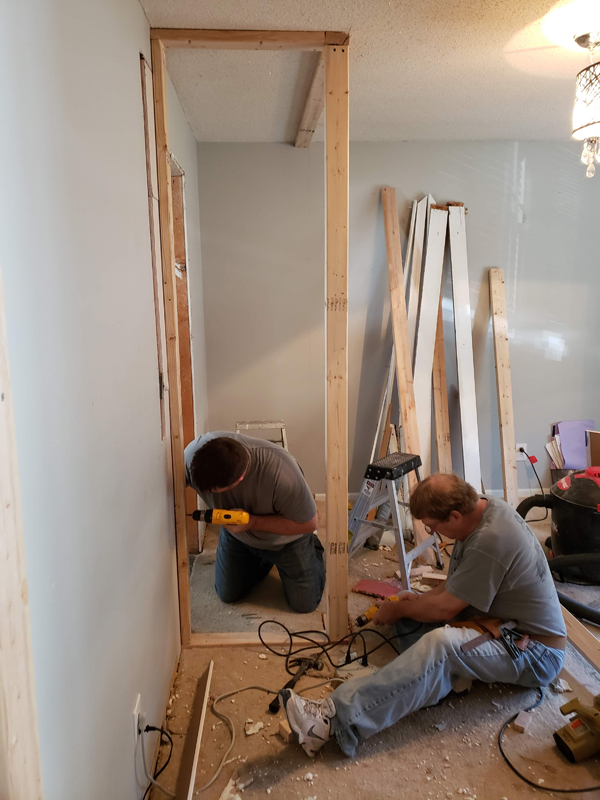
We got started on New Year’s Eve since Brian was on call and had the day off. The carpet needed to be cut out where the framing would go and we bought a door so that we could measure the opening. The boys did a lot of measuring and testing, but they were able to make adjustments so that we could use the lumber from the temporary wall for the new bedroom wall.
Framing the Closet
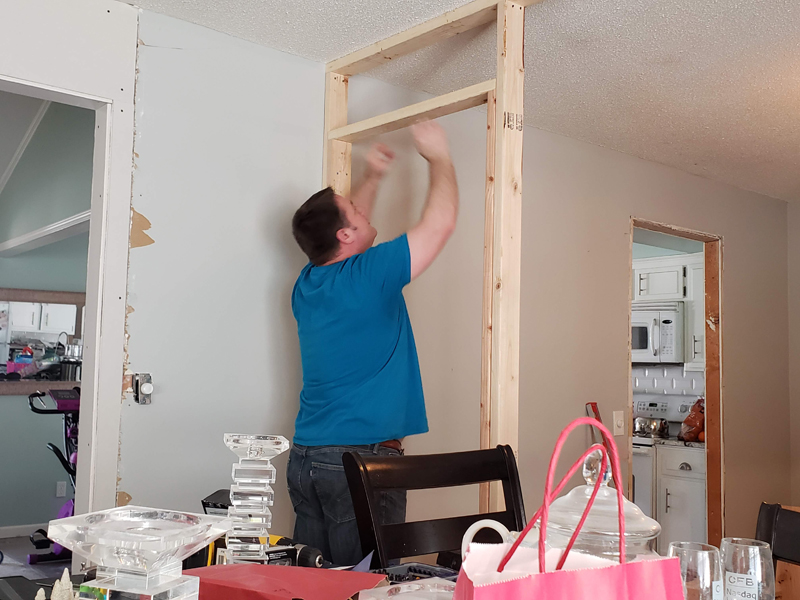
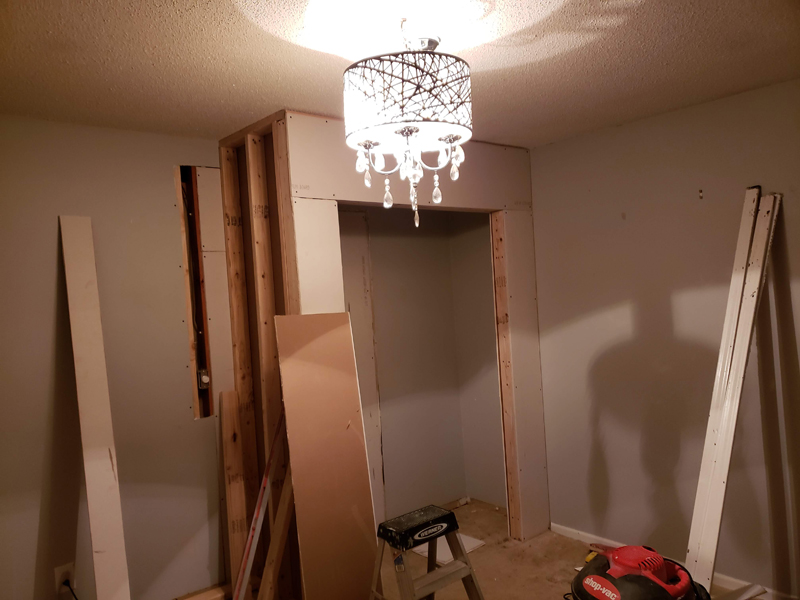
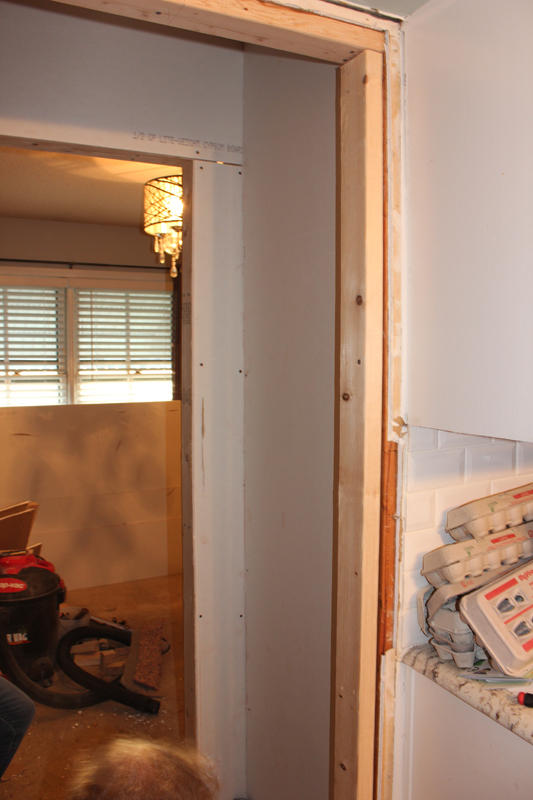
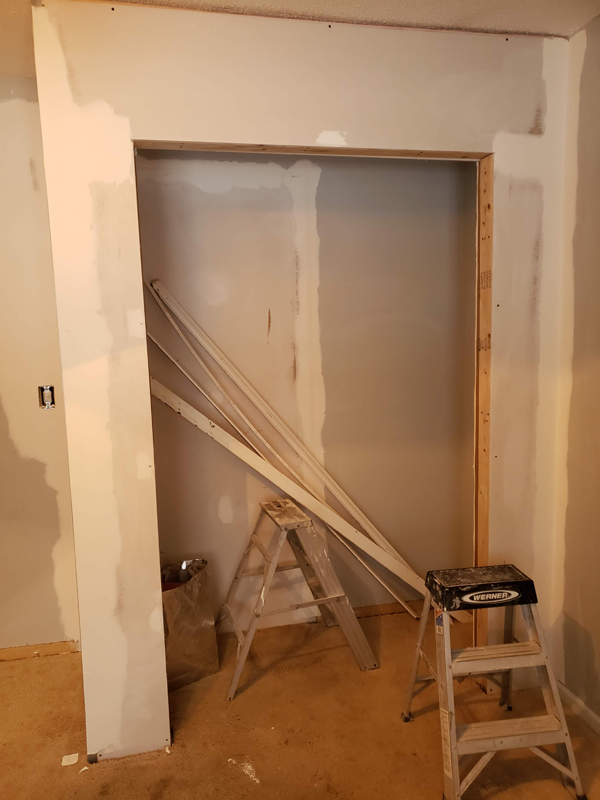
The next step was framing out the closet. We measured Bailey’s closet and used the dimensions so that they would be identical. We chose to go against the wall to the kitchen and left the doorway open so that we could easily put up the drywall inside the closet. They were also mindful of the closet door size that we wanted to use and carefully measured everything out.
Hanging the Drywall
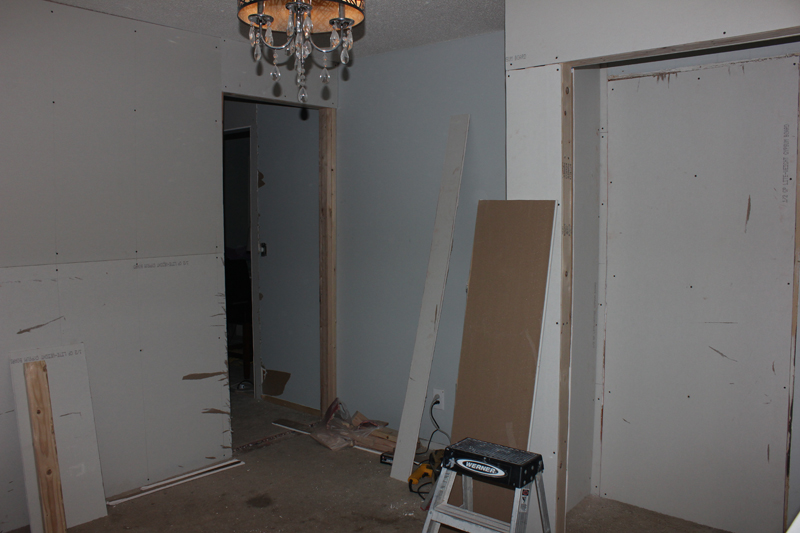
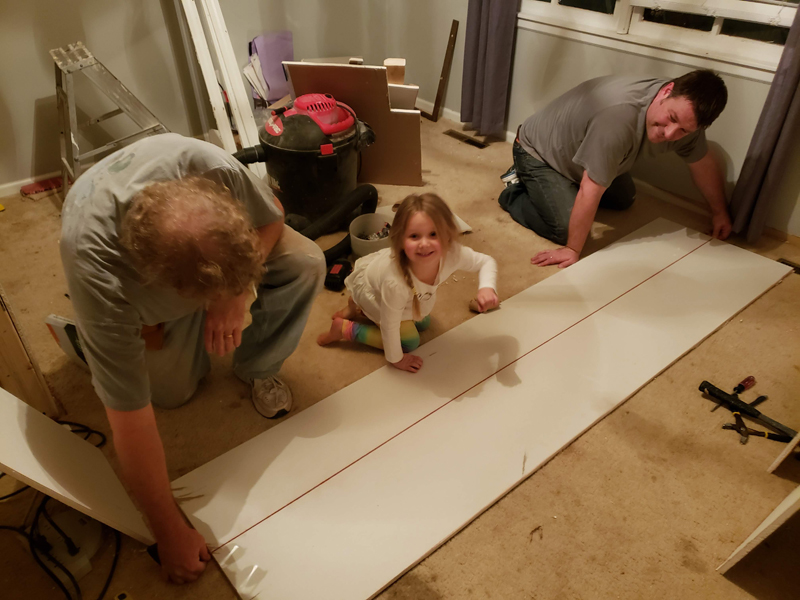
New Year, New Drywall. We kicked off the New Year by hanging the drywall. Brian has gotten quite skilled at drywall with all of the projects we’ve done before but I believe this was his best yet. The girls enjoyed helping snap the chalk lines and watching everything come up. Luckily the boys were really patient with them and let them help out.
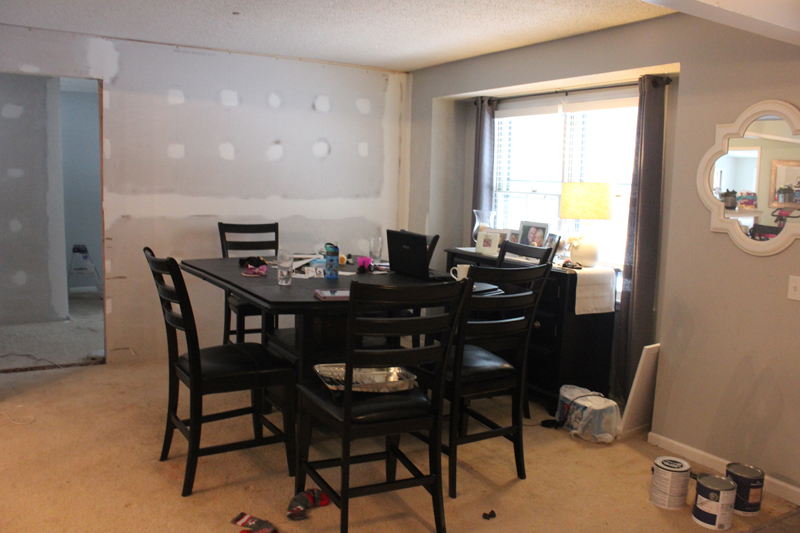
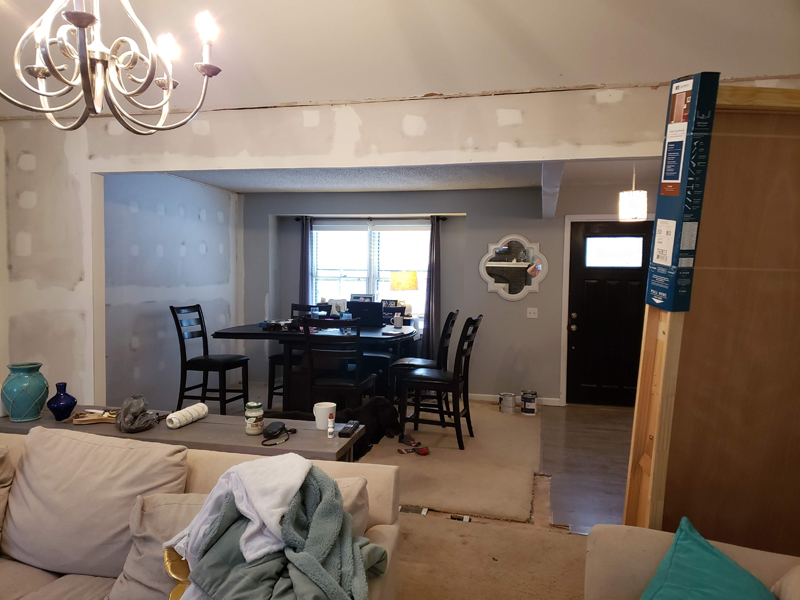
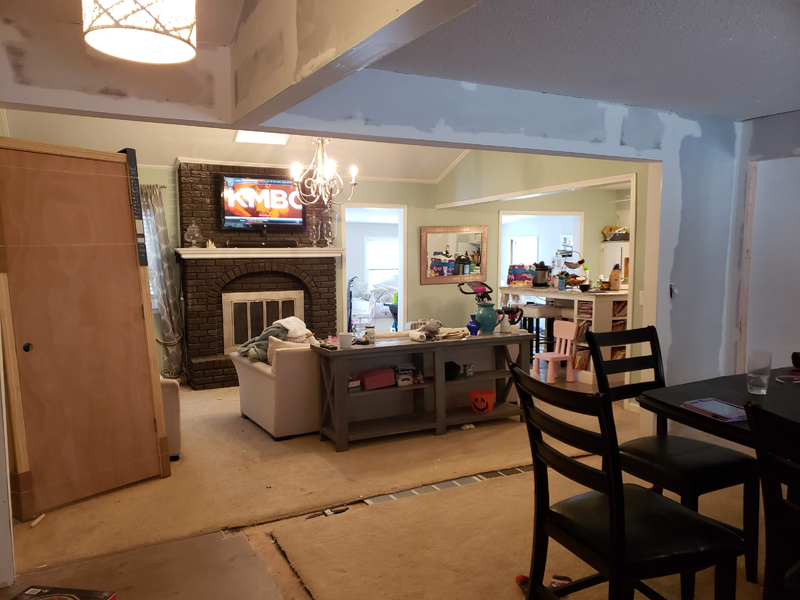
With the drywall up, our dream finally became a reality. You can plan and imagine all day but you still don’t know how it will actually look until the drywall is done.
Closing Up the Kitchen
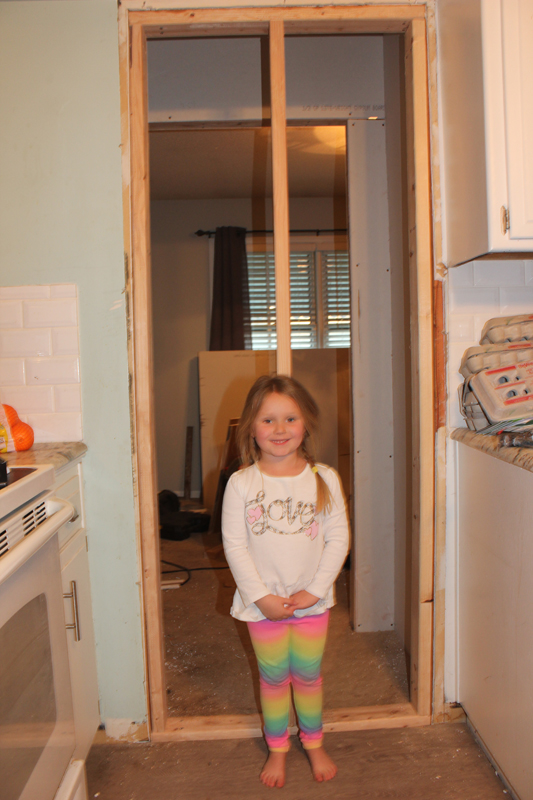
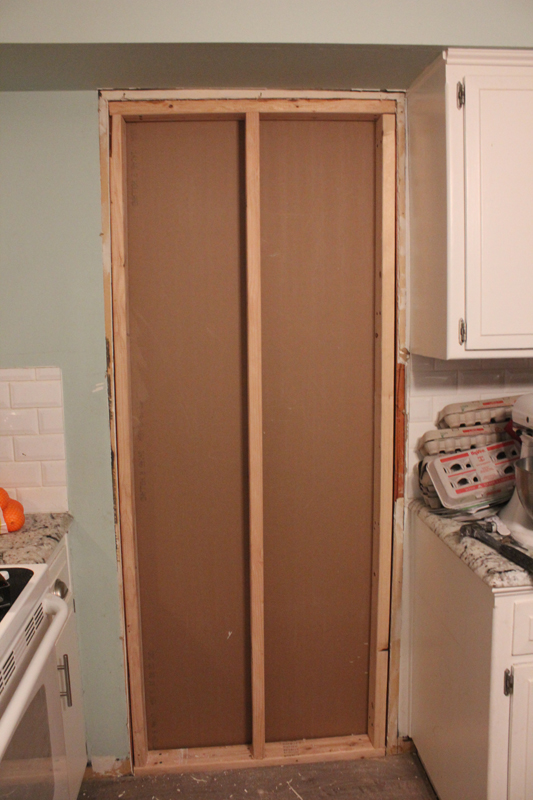
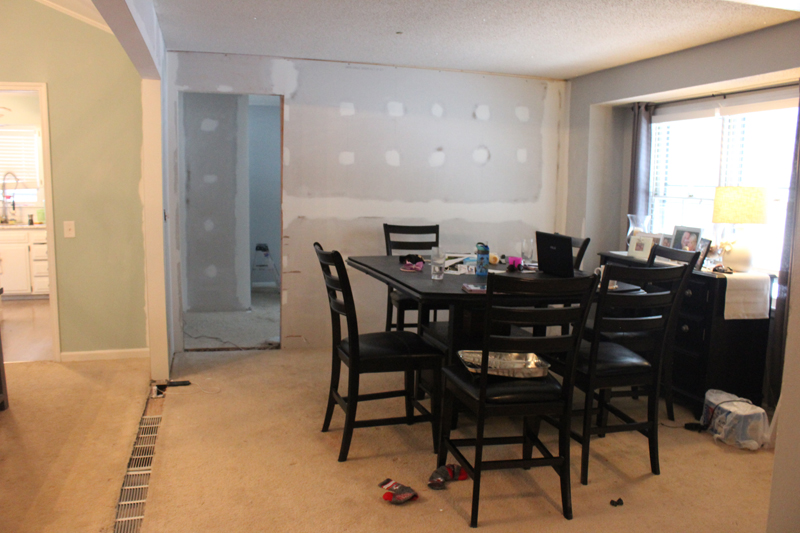
Once the drywall was done inside the closet, we needed to close up the door from the kitchen. We took out the door frame and they used a few more 2x4s to frame it up to hang the drywall.
Bubba was quite confused why we were blocking out his favorite doorway and felt he needed to try and make the work as difficult as possible.
The Dirty Work
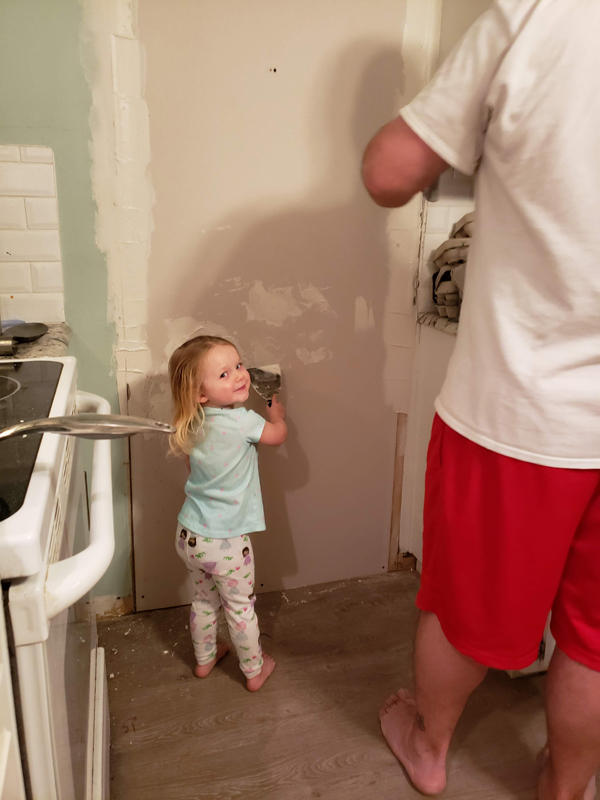
It was time to start our least favorite part of the makeover – the drywall mudding and sanding. It is definitely the messiest part of the project and one we have to keep the girls away from, but they did sneak in some work and really enjoyed it. Sienna really enjoyed smearing the mud.
Cleaning Up
Anyone that has worked with drywall before knows that the drywall dust is relentless. Being pregnant with rhinitis means that I already can’t breathe so staying away from the dust was important for me, and tack on this fun rash I get everyday means that I was little to no help. The one time I helped sand, I ended up throwing up in the shower because I couldn’t breathe…awesome.
I know I’ve said in the past how awesome my Mom is. I really don’t know what I would do without her. She is the girl’s bestie and overall best Guh guh ever! But when she offered to come over yesterday to clean up the drywall dust, I could have kissed her feet. It was a huge job and as much as I tried to help, she did most of the work. Thank you from the bottom of our hearts (and noses). You are the best!
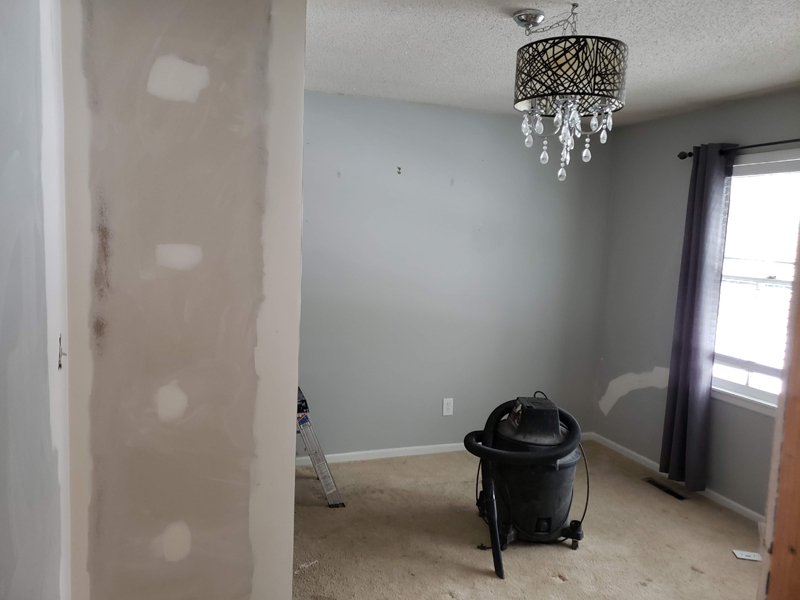
Here are the after cleanup pics with the finished drywall:
We are so happy with it and I can’t wait to see it with the trim and paint up! A huge Thank You to my Dad, Mom and Uncle Mat. You guys have endless patience with our projects and thank you for all of your help with everything. Dad, I can ‘t even begin to thank you for all your hard work. And Brian, you are my hero…thank you for putting up with all my crazy ideas and executing them. Love you all! We’ll share more as soon as we can, but for now Go Bison!
DIYdry wallframingHomeHome RenovationRenovation